
Last updated November 21, 2026
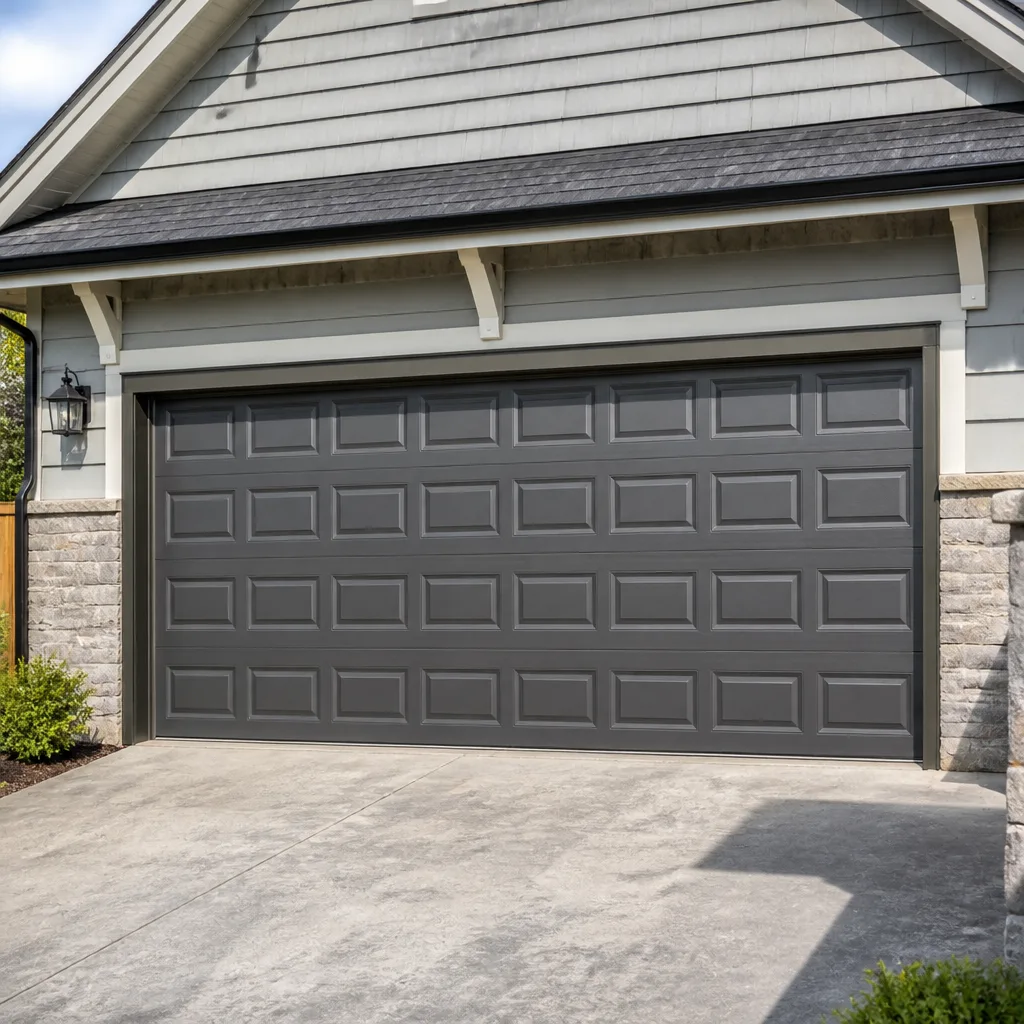 Raised-panel steel
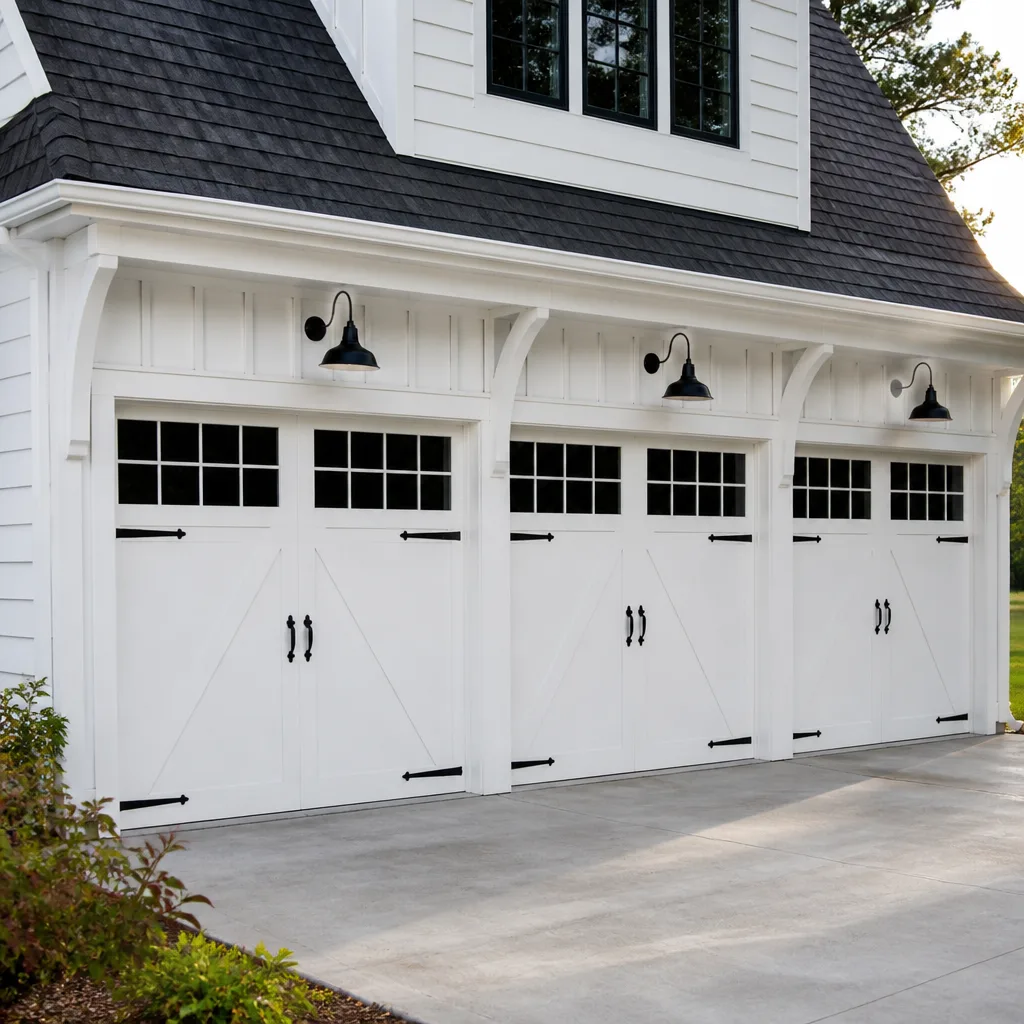 Carriage house
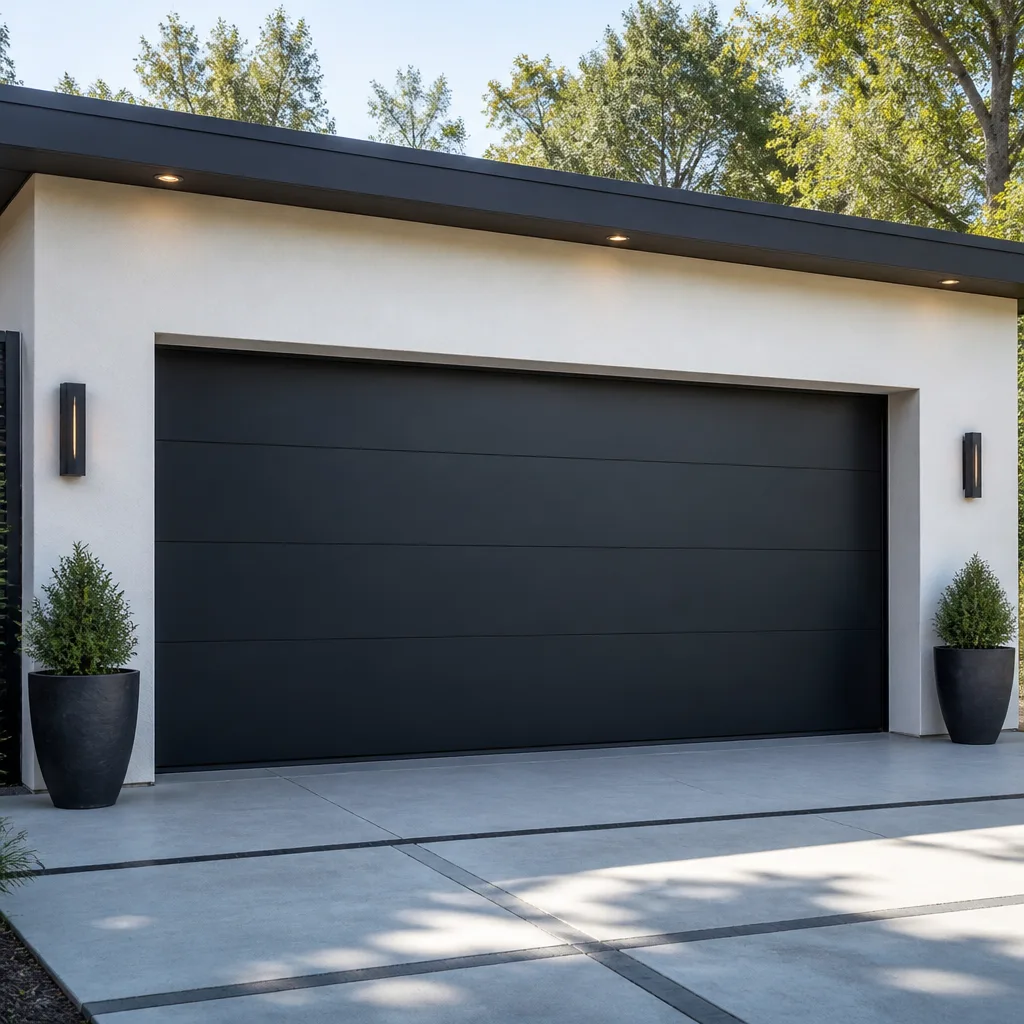 Modern flush
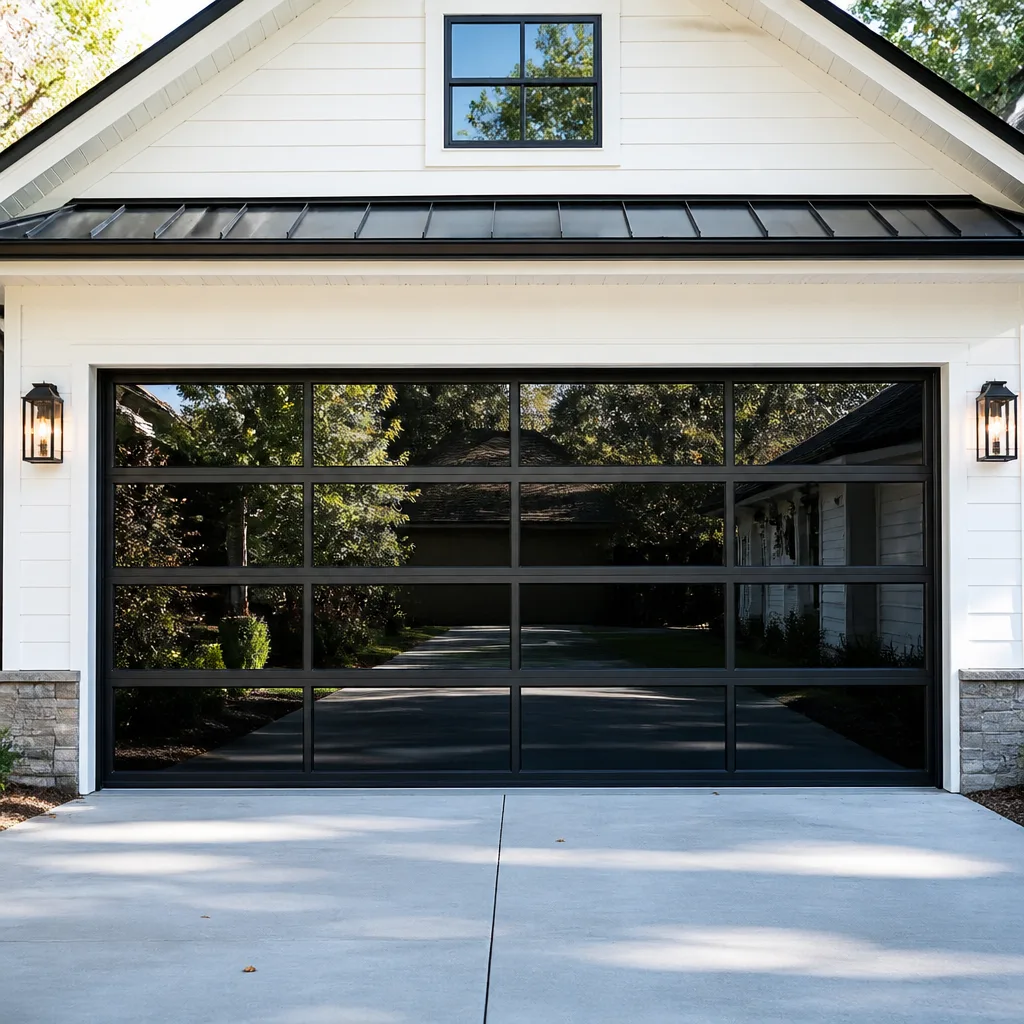 Full-view glass
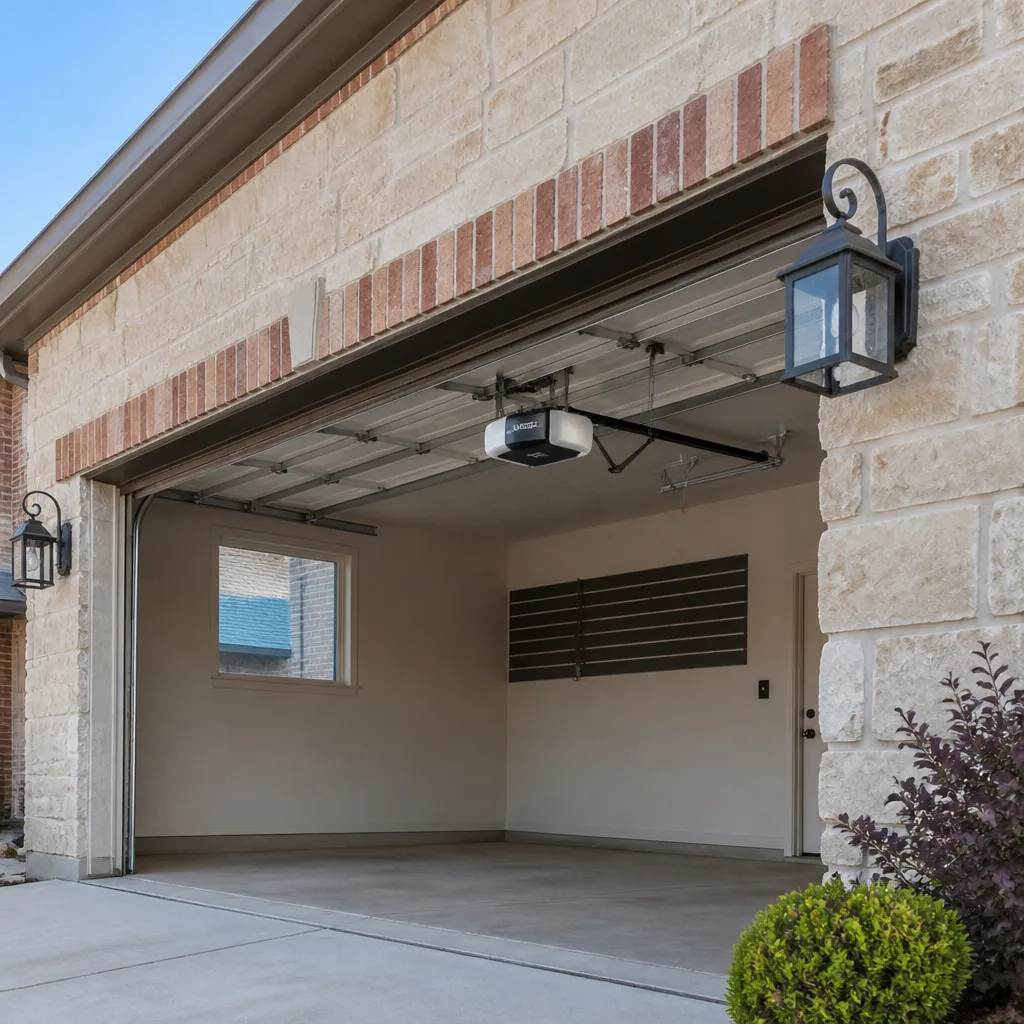 LiftMaster openers
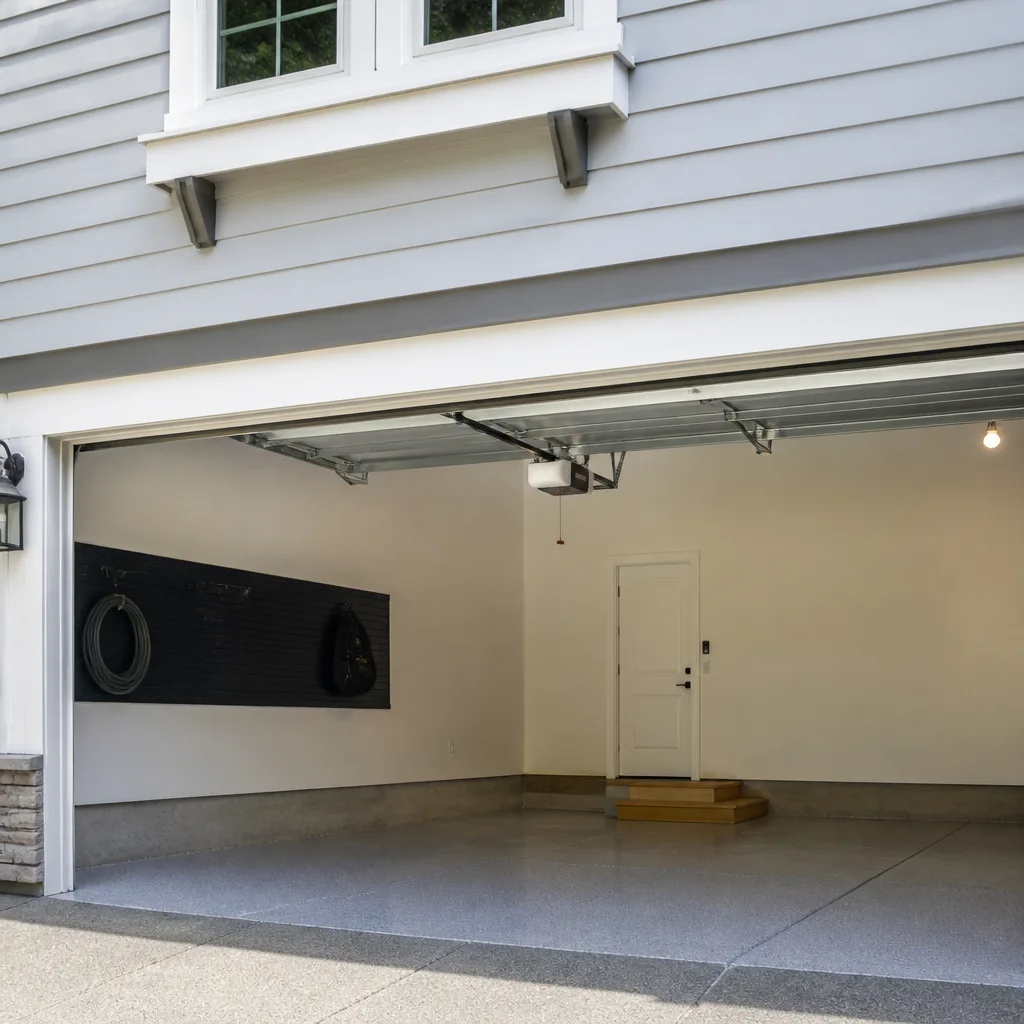 Chamberlain openers
Full 25-point door and opener safety check with every visit - springs, cables, rollers, tracks, and your LiftMaster or Chamberlain opener included
You get a price before we start. It does not change when the pro arrives.
Get your free estimateGarage Door Repair Maintenance Checklist for Dayton Homeowners
The number one cause of early spring failure on Dayton garage doors isn’t a lack of lubrication. It’s the wrong lubricant on the wrong component. Most online checklists say “oil your springs and rollers” and stop there, which is how nylon rollers end up coated in sticky silicone and torsion springs get sprayed with whatever was in the shed. Your door is a mechanical system with parts that need very different care, and a 1990s Wayne Dalton doesn’t want the same routine as a newer Chamberlain smart opener. This guide sorts inspection and maintenance by component and system type, so you know what actually applies to your door.
Quick Answer
A garage door maintenance checklist in Dayton should cover seven things each season: lubrication matched to each component, balance and travel testing, auto-reverse force calibration, weather seal inspection, cable and drum inspection, hardware tightening, and a visual check of the opener mounts and safety sensors. Springs and cables are inspection-only tasks for a trained technician, never a homeowner repair. Basic checks take about 20 minutes; the value comes from doing the right test on the right part.
Styles & brands we work with
- Raised-panel steel
- Carriage house
- Modern flush
- Full-view glass
- LiftMaster openers
- Chamberlain openers
Table of Contents
- Component-Specific Lubrication
- Balance and Travel Testing
- Auto-Reverse Force Calibration
- Weather Seal Inspection for Dayton Winters
- Cable and Drum Inspection
- Hardware, Tracks and Sensor Alignment
- Maintenance That Can Void a Warranty
- Seasonal Schedule for Dayton
Component-Specific Lubrication: What Goes Where
Lubrication is the task most homeowners get wrong, and the damage is cumulative. The right product on the wrong surface can attract grit, gum up a roller bearing, or leave a seal sticky. Here’s what we recommend by component type, based on the systems we work on most.
Torsion and Extension Springs
Use a light, non-detergent lubricant or a purpose-made spring lubricant, applied thinly with a rag. Torsion springs need a very light film to slow corrosion, not a heavy coat. Extension springs get the same treatment along the coil, never on the pulleys or the cable itself. Leave springs alone if you can’t safely reach them.
Steel Rollers
Steel rollers with sealed bearings take a few drops of garage-door-specific lubricant per roller, wipe off the excess, and you’re done. Nylon rollers are different: they are designed to run dry, and lubricating them attracts dust that wears the bearing surface faster. If your door runs nylon rollers, skip them entirely.
Hinges and Track
Hinge pivots want a penetrating lubricant worked into the joint, then a wipe. The track itself should never be greased. A clean, dry track with a light wipe-down is what keeps rollers tracking smoothly. Grease on a track traps debris and causes the rollers to slide rather than roll.
What Never Goes on a Garage Door
- WD-40 or generic spray lubricant as a bearing lubricant – it’s a solvent, not a lasting lube.
- Silicone spray on nylon rollers – attracts grit and shortens roller life.
- Grease on the track or on the opener rail.
- Motor oil or chain lube on springs – too heavy, collects dust.
- Anything on the safety sensors or the photo-eye lenses.
If your opener uses a chain drive and the manual calls for chain lubrication, follow the opener manual, not general guidance. If you’re not sure which drive type you have, our garage door opener repair team can identify it on sight.
Balance and Travel Testing
Balance testing tells you whether the springs are carrying the door or the opener is doing the work. An out-of-balance door puts strain on the opener motor and stresses the cables. The test method depends on the door’s age and the opener type.
- Close the door fully.
- Pull the emergency release cord to disconnect the opener.
- Lift the door by hand to about waist height.
- Let go. A properly balanced door stays where you release it.
- A door that drops hard or rises on its own is out of balance. Stop using the opener until it’s checked.
For travel limits – the points where the door stops in the open and closed positions – the procedure depends on the opener. Most LiftMaster and Chamberlain units use limit screws or a digital limit set on the control panel. Older Craftsman units typically have mechanical limit switches. If the door stops short, reverses, or hits the floor hard, the limits or the force settings need adjustment. Don’t force it; if the door is fighting the opener, the opener is usually not the problem.
Auto-Reverse Force Calibration: Old vs. Smart Openers
Auto-reverse testing is the single most important safety check on the opener, and the test method has changed significantly as openers went digital. Older mechanical units and newer smart openers do not calibrate the same way, and following the wrong instructions can leave the force settings too high without you realizing it.
Testing a Mechanical Opener
With a mechanical opener, place a 2×4 flat on the floor under the door and close it. The door should reverse on contact. For the photo-eye test, close the door and pass a hand or a long object through the beam; the door should reverse immediately. If it doesn’t, the force setting on the opener body needs adjustment, usually a small screw labeled “force” or “sensitivity.”
Testing a Smart Opener
Newer LiftMaster and Chamberlain openers calibrate force and travel through the control panel or app during a setup cycle. If you adjust force manually after a smart opener was auto-calibrated, you can override the calibration and the door may skip the automatic safety check. Re-run the calibration procedure from the manual afterward. If the door reverses on its own with no obstruction, the sensor alignment or the calibration cycle is usually the culprit.
Photo-Eye Sensors
Clean the lenses gently, confirm both sensors face each other, and verify the indicator light is on and steady. A flickering or off light means the beam is broken or misaligned. If the sensor light stays off after cleaning and realigning, the wiring or the sensor itself needs a look.
Weather Seal Inspection for Dayton Winters
Dayton’s cold winters and warm, humid summers are hard on garage door seals. The bottom weather seal is usually rubber or vinyl, and it hardens as it ages, especially through repeated freeze and thaw cycles. A hardened seal stops flexing against the floor, which is where cold air gets in and where small pest entry happens.
To check yours, close the door and press the seal against the floor with your thumb. A healthy seal compresses and springs back. A hardened seal feels stiff or crumbly and doesn’t return to shape. Look for cracks at the corners and along the fold. On the sides, check the perimeter brush or vinyl seal; if light shows through when the door is closed in daylight, air is getting in. On homes where the garage is attached, air infiltration pulls cold into the house through the shared wall, which raises heating costs through a Dayton winter.
Seal replacement is a one-person job for the bottom seal on most doors. Side and header seals on older wood doors can be more involved. If the door frame has rot or the track is bent where the seal mounts, seal replacement alone won’t stop the draft. That’s a good point to have the whole door checked – we can look at garage door repair and seal work in one visit.
Cable and Drum Inspection
Cables carry the full weight of the door and are under extreme tension at all times. They are also one of the components a homeowner should inspect visually and never touch. High-cycle doors – the ones on homes where the garage is the primary entry point, so the door opens and closes many times a day – need this inspection more often because cables fatigue faster. In Dayton, families who use the garage as the front door are exactly the homes where these cables do the most work.
What to look for during a visual cable inspection:
- Frayed wires or broken strands anywhere along the cable, especially near the drum.
- Rust or corrosion on the cable or drum.
- Cable that has jumped the drum groove or is loosely wound.
- A door that hangs unevenly, which often means one cable is stretched.
- Loud popping or snapping sounds when the door moves.
A frayed or loose cable is a stop-use condition. The spring is holding stored energy, and a cable under tension can fail without warning. Do not cut, adjust, or remove a cable yourself. Close the door and keep it closed until a trained technician looks at it. If a cable snaps or the door is stuck in a dangerous position, that’s emergency garage door service territory – a door left open is a security gap, and a door stuck mid-travel can be worse.
Hardware, Tracks and Sensor Alignment
Hardware loosens over time. Vibration from the opener motor and normal use work bolts loose, and a loose hinge or bracket can cause misalignment or unusual noise. A few minutes with a socket set keeps these snug, but don’t overtighten; some brackets are designed with a little give.
- Check every hinge bolt and roller bracket along both sides of the door.
- Check the track mounting brackets where they attach to the wall and ceiling.
- Check the opener mounting hardware at the ceiling and at the door header.
- Wipe the track with a dry cloth, then look for bends or dents.
- Confirm the safety sensors are level and facing each other.
- Wipe the photo-eye lenses with a soft, dry cloth.
If the track is bowed or the vertical section is out of plumb, adjust only if you know the correct tolerance from your door’s manual. A bent track causes the rollers to bind, which stresses the opener and the springs. On a door that has been hit once, the track rarely bends back cleanly. If the door is older and the track and hardware are at the end of their life, complete door installation may be more economical than repeated fixes – we can give you an honest comparison during a free estimate.
Maintenance That Can Void a Warranty
This is the part most checklists skip. Several common maintenance moves can void a manufacturer warranty on the opener or the door, and the rules vary by brand. We flag these because we’ve seen the problems they cause.
Opener Brands
- LiftMaster and Chamberlain: Both use digital calibration and smart-home features. Manually overriding the force settings after a factory calibration, or installing an unauthorized third-party accessory, can void coverage on the opener.
- Craftsman: Older Craftsman units often use off-the-shelf replacement parts that aren’t made by the original manufacturer. Substituting a non-Craftsman board or limit switch can void coverage.
- Raynor: Raynor doors and openers often use proprietary hardware and brackets. Substituting aftermarket parts where the warranty specifies genuine Raynor parts can void coverage.
Door Manufacturer Rules
Most garage door manufacturers require that installation and major repairs follow the published manual, and they may void coverage if a homeowner substitutes non-approved parts, alters the door structure, or paints or finishes the door in a way that isn’t called out in the finish instructions. Springs and cable assemblies from non-approved sources are a common warranty issue. When in doubt, ask.
Seasonal Schedule for Dayton
Dayton’s climate is genuinely four-season. Freeze and thaw cycles in winter stress seals and cables; summer humidity accelerates corrosion on springs and hardware. A seasonal schedule matches the inspection to the season.
Spring (March-April)
- Inspect for winter damage: cables, seals, door alignment.
- Do the balance and travel test.
- Test the auto-reverse safety reverse on your opener type.
- Lubricate springs, steel rollers, and hinges.
Summer (June-August)
- Check hardware for corrosion from humidity.
- Do a visual cable inspection.
- Clean and confirm safety sensor alignment.
Fall (October-November)
- Inspect and replace the bottom seal before the first cold snap.
- Lubricate hardware ahead of winter.
- Check opener mounts and tighten if needed.
- Do the reverse test again before winter.
Winter (December-February)
- Check the seal after a hard freeze – cold makes stiff seals crack.
- Watch for sticking during cold starts, which points to track or seal issues.
- If the door struggles in cold weather, it’s often the opener or a binding track, not a spring failure yet.
Common Mistakes to Avoid
- Greasing the track. Grease on a track turns your rollers into sliders and traps grit. Keep it clean and dry.
- Lubricating nylon rollers. They’re designed to run dry. Lube attracts dust that wears the bearing surface faster.
- Treating a balance problem as an opener problem. If the door drops or rises on its own, the springs or cables need attention, not a new opener. Replacing the opener without fixing the balance just adds strain to a new motor.
- Adjusting force settings on a smart opener without re-running calibration. On LiftMaster and Chamberlain units, manual tweaks can override the factory calibration and skip the auto-reverse check.
- Cutting or adjusting a cable. Cables are under extreme tension. Touching them is a serious injury risk. Always call a trained technician.
- Substituting a non-approved spring or part without checking the warranty. Brand-specific rules vary, and a substitution can void coverage on the door or the opener.
- Patching a hardened weather seal instead of replacing it. A cracked or stiff seal lets cold air and moisture through and can be a pest entry point. Replace, don’t patch. It’s a small job that pays for itself in one Dayton winter.
See the difference
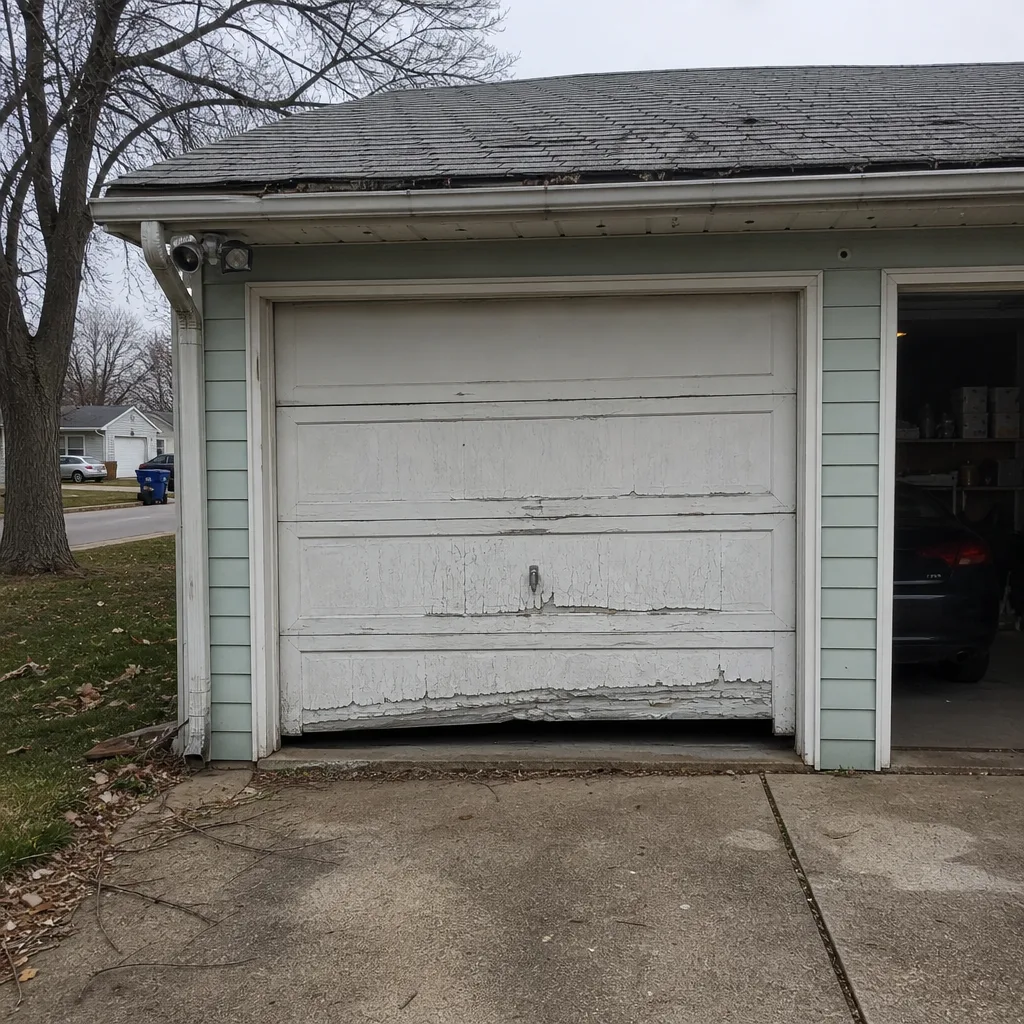 Before
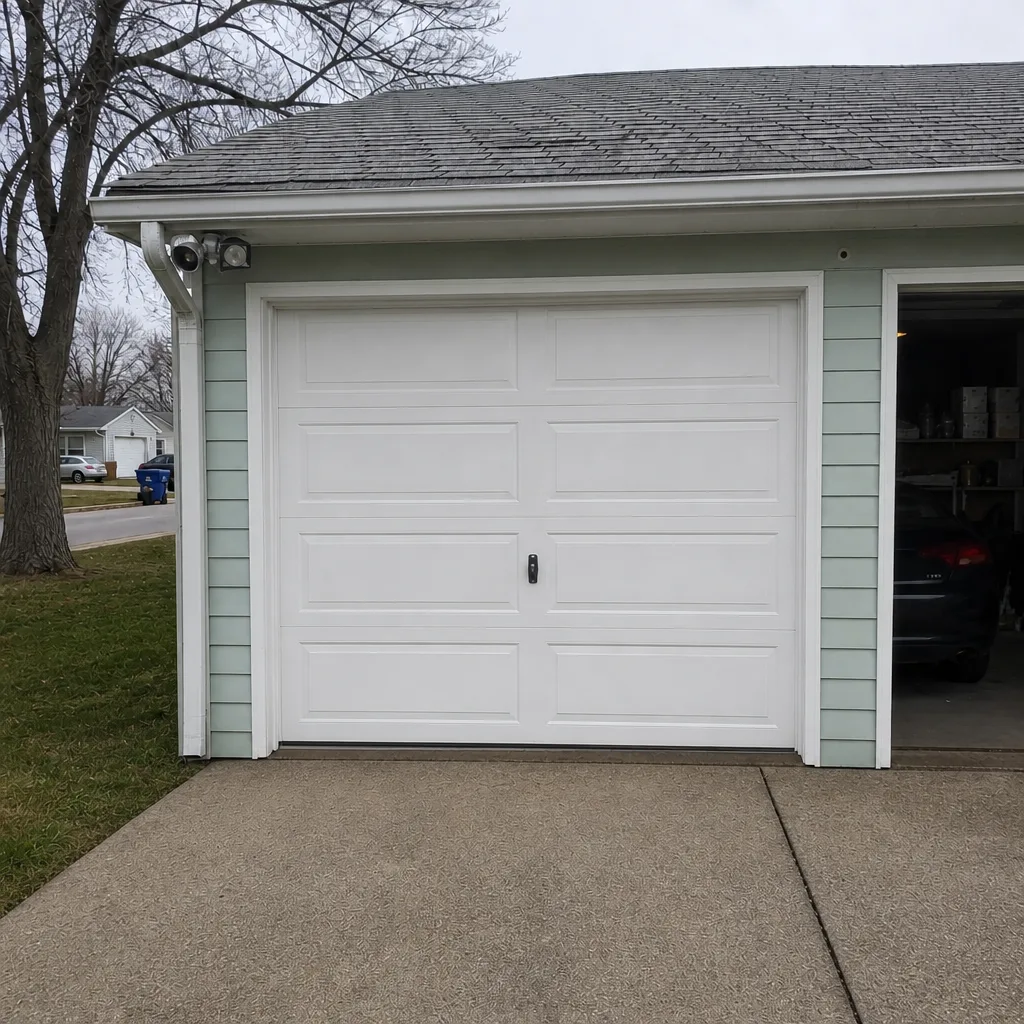 After
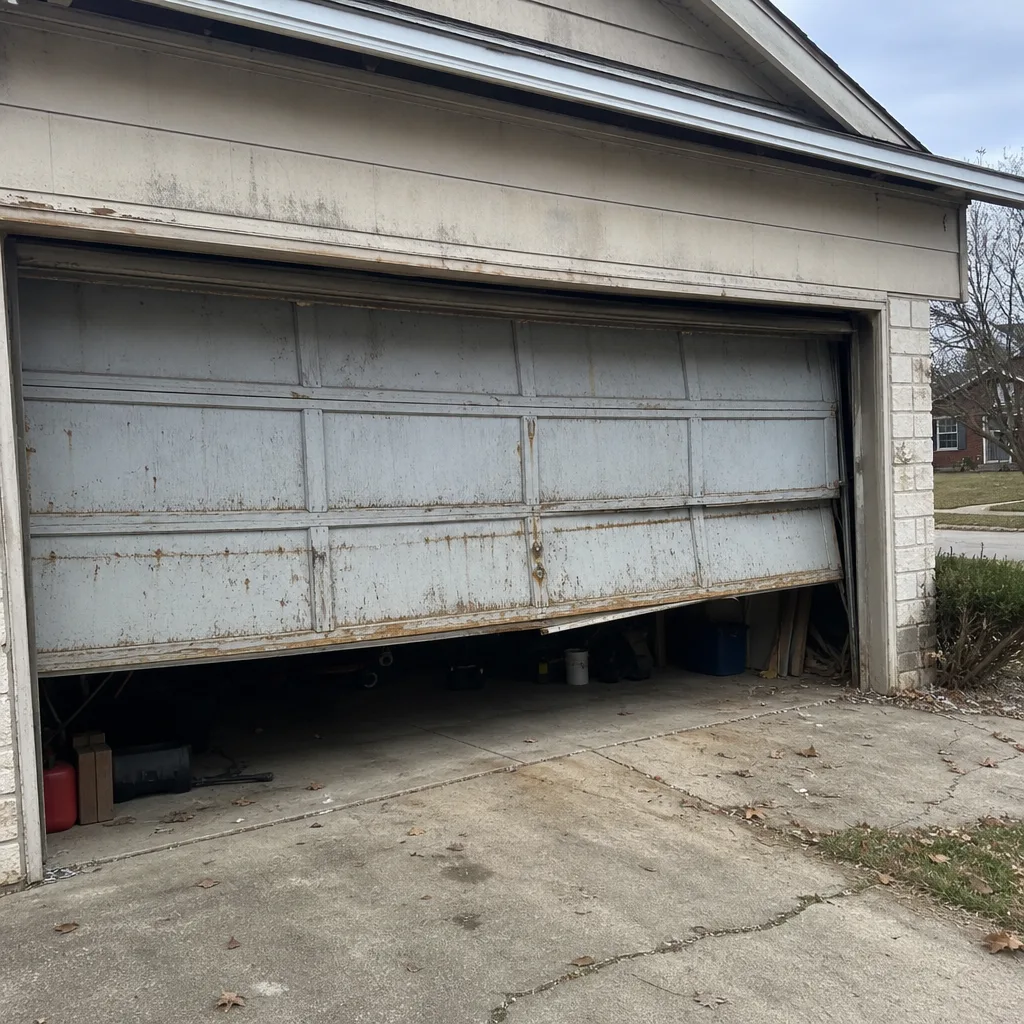 Before
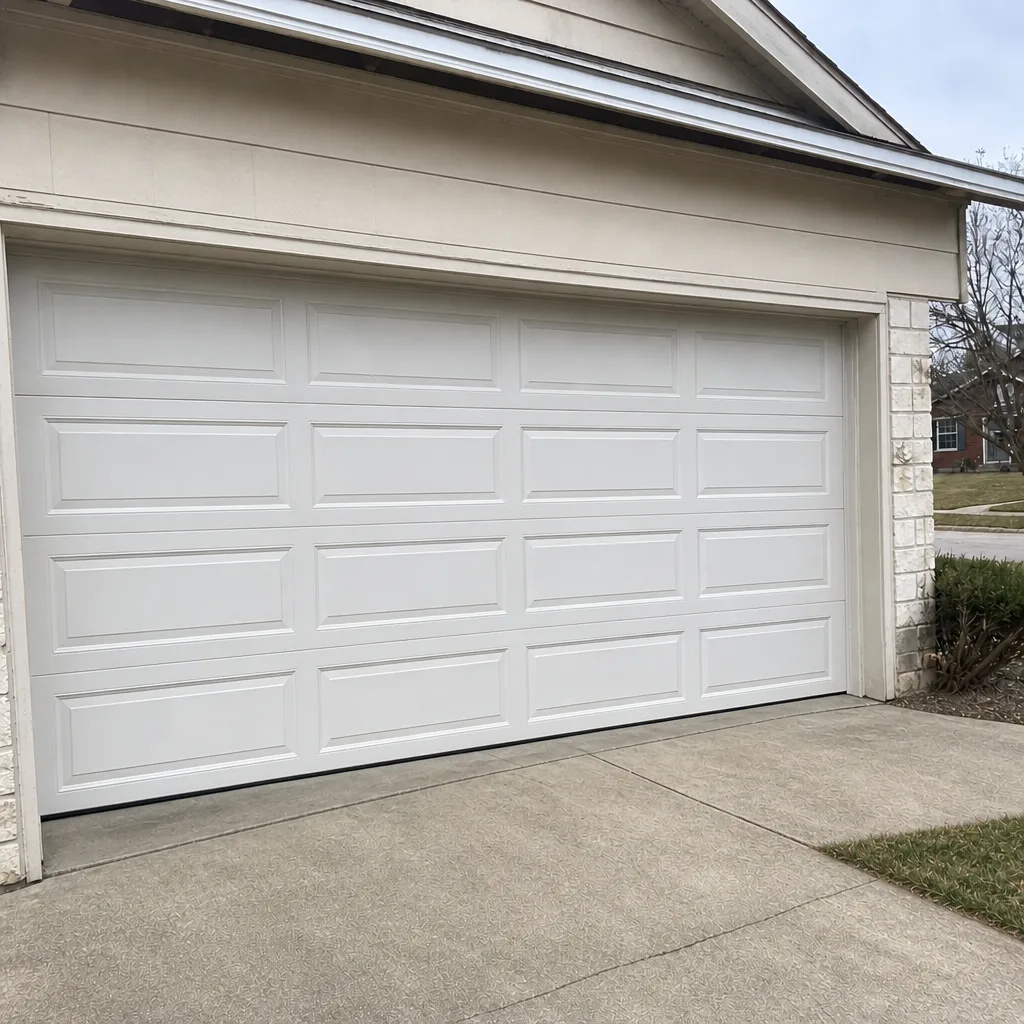 After
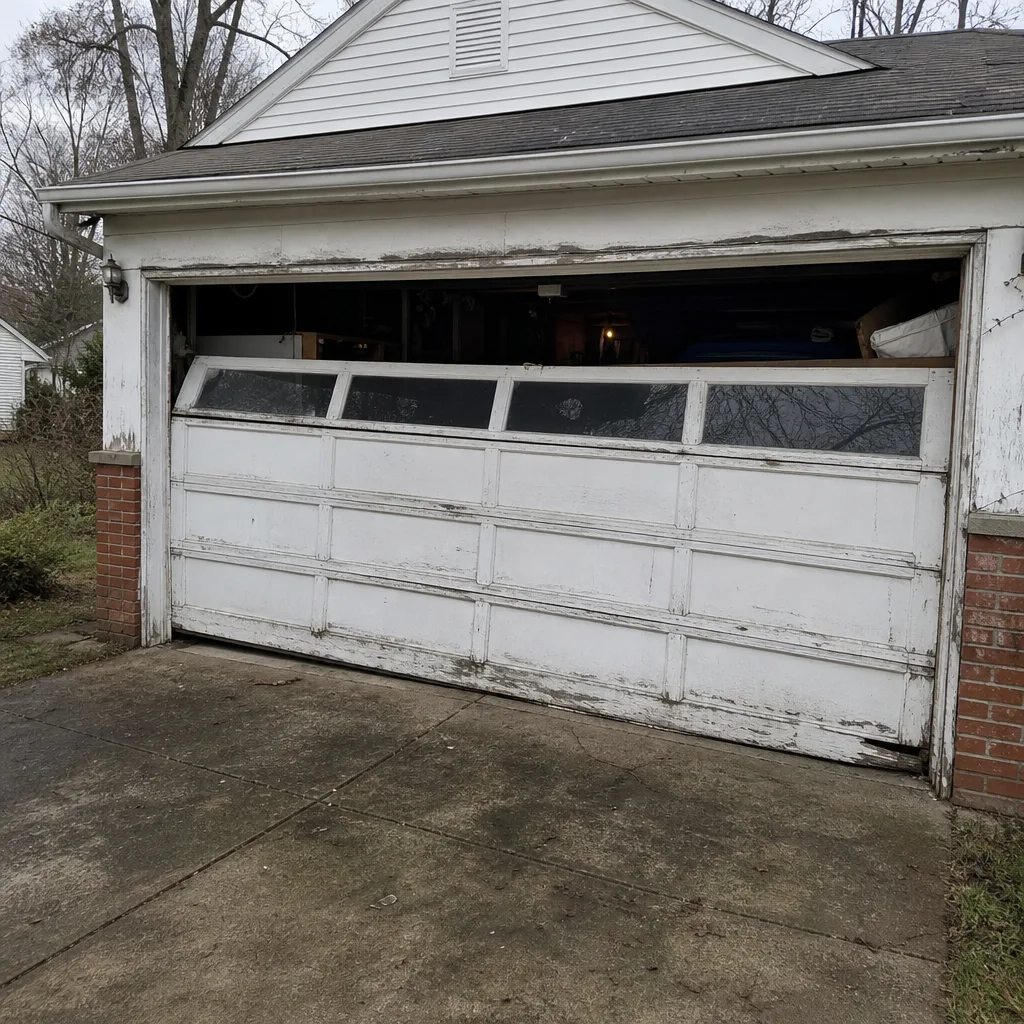 Before
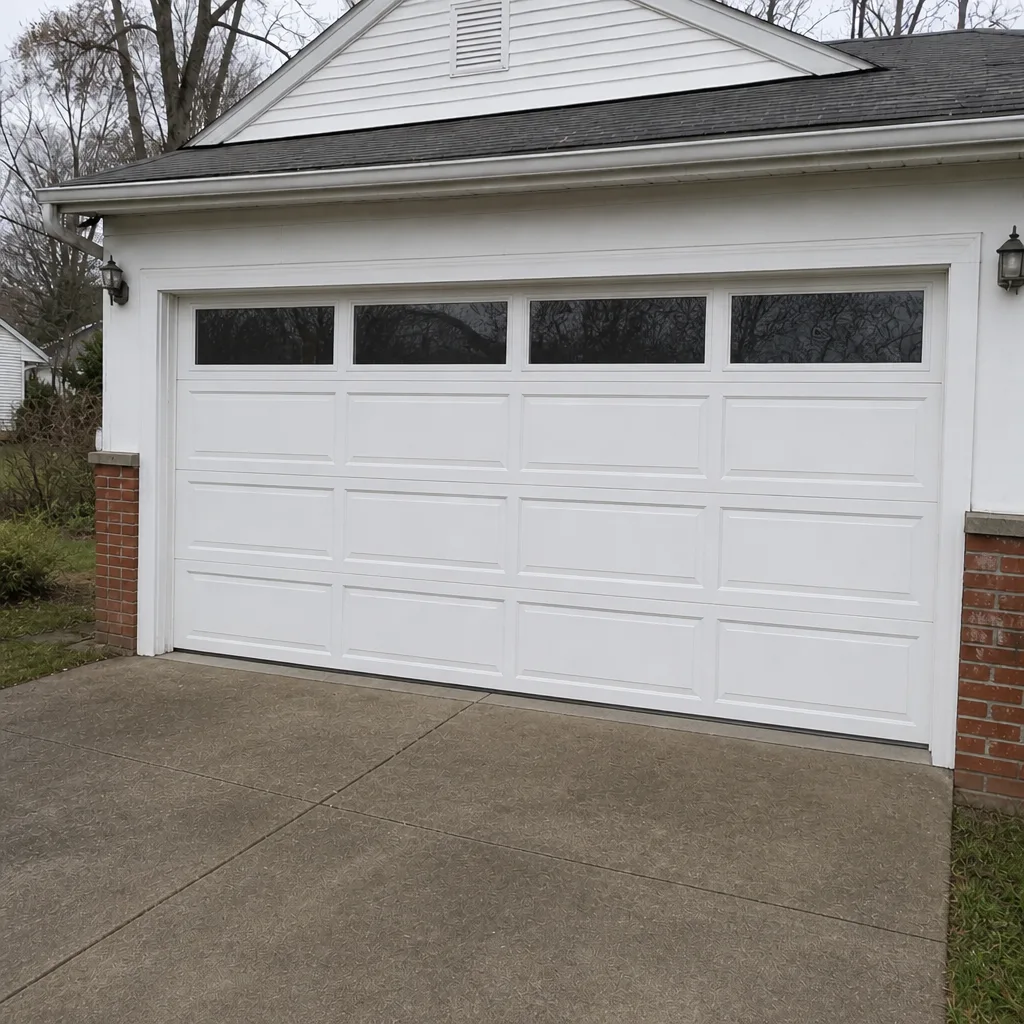 After
When to Call a Professional
Some checks are safe for a homeowner with 20 minutes and a socket set. Others are not. Call a professional when:
- You see a frayed, broken, or loose cable. Stop using the door.
- The door is out of balance, drops on its own, or hangs unevenly.
- You hear a loud bang and the door won’t open – a spring has likely broken.
- The door is off its track, bent, or jammed.
- The auto-reverse system fails the test and you can’t fix it from the manual.
- The opener behaves erratically or won’t respond.
Springs and cables are inspection-only. That’s not a suggestion; it’s a hard safety rule. High-tension springs and cables cause serious injuries every year, and a professional has the tools and training to work on them safely.
Dayton Garage Door Repair Pros offers free estimates in Dayton – call (866) 937-7781. Our technicians have up to 12 years of experience across the eight major brands, including LiftMaster, Chamberlain, Genie, Clopay, Amarr, Wayne Dalton, Craftsman, and Raynor.
Frequently Asked Questions
Twice a year, in spring and fall. Fall matters most because it preps the door for the freeze and thaw cycles that stress seals and hardware. Lubricate springs, steel rollers, and hinges, but never the track or nylon rollers. A quick seasonal routine beats an all-day catch-up job every time.
Torsion springs sit above the door on a torsion bar and use a twisting motion; extension springs run along the sides and stretch. Both store dangerous energy and both should be inspected visually and serviced only by a trained technician. The lubrication is similar, but the inspection points differ. If you’re not sure which you have, look at the door’s header area – torsion springs run side to side above the door.
The most common cause is a dirty or misaligned photo-eye sensor, or a force setting that’s too sensitive. On newer smart openers, a failed calibration cycle can also cause this. Start by cleaning the lenses and checking alignment, then test again. If it still reverses, the opener’s settings or the safety system need a professional look. Call (866) 937-7781 for a free estimate.
On a standard overhead door with a slot-in or aluminum-retained bottom seal, yes. Match the retainer type and the door width, and the job takes about 30 minutes. If the door frame is rotted or the track is bent at the seal mount, the job needs a professional. In Dayton, seals take a beating through winter, so check the fit right after installation.
It genuinely extends life, mostly because it catches small problems before they become large ones. A balanced door with clean tracks and correct lubrication puts less strain on the opener and on the springs. It’s not a guarantee against failures, but the difference is real. The bigger benefit is safety – regular auto-reverse testing is the single best thing you can do for a garage door.
Substituting non-approved parts is the biggest one, and the rules vary by brand. LiftMaster and Chamberlain can void coverage if you override their digital calibration. Craftsman can void coverage with non-OEM boards and limit switches. Raynor can void coverage with non-Raynor parts. Springs and cable assemblies are common warranty triggers when sourced from non-approved suppliers. When in doubt, ask before you substitute.
The Bottom Line
A good maintenance checklist matches the door you actually own. Lubricate by component, not by habit. Test balance and auto-reverse using the method that fits your opener age. Inspect seals before Dayton’s cold snaps, not after. Check cables visually and leave the repair to a professional. Watch for the specific maintenance moves that can void a warranty, especially substitutions and force-setting overrides. Do the safe checks on schedule and call us for the ones that aren’t. If a spring, cable, or track issue shows up, call (866) 937-7781. We answer 24/7, with fast dispatch from 7am to 7pm, Sunday through Friday.
For broader repair, opener, or installation needs, you can start with Dayton Garage Door Repair Pros, explore garage door installation if your door is nearing the end of its life, or call us for a free written estimate before any work begins.
Written by the team at Dayton Garage Door Repair Pros.