
Last updated November 21, 2026
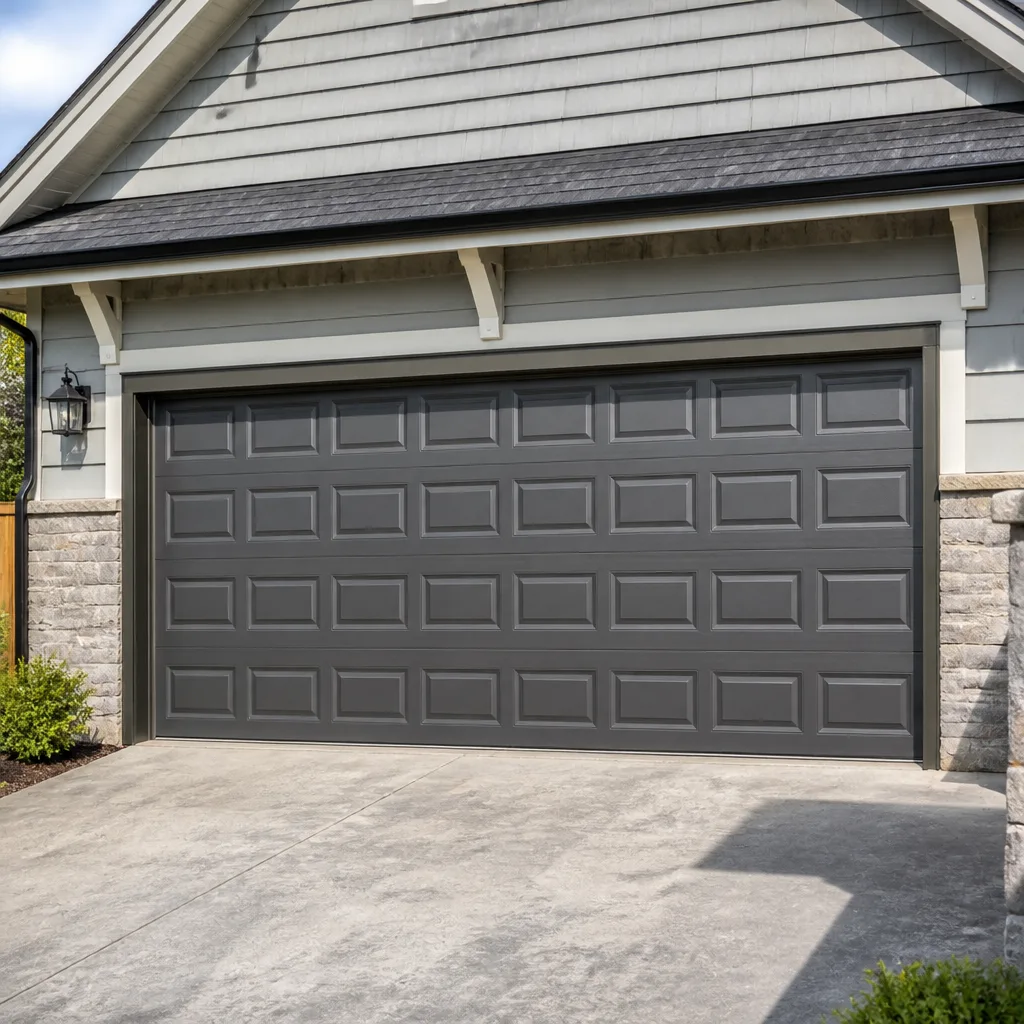 Raised-panel steel
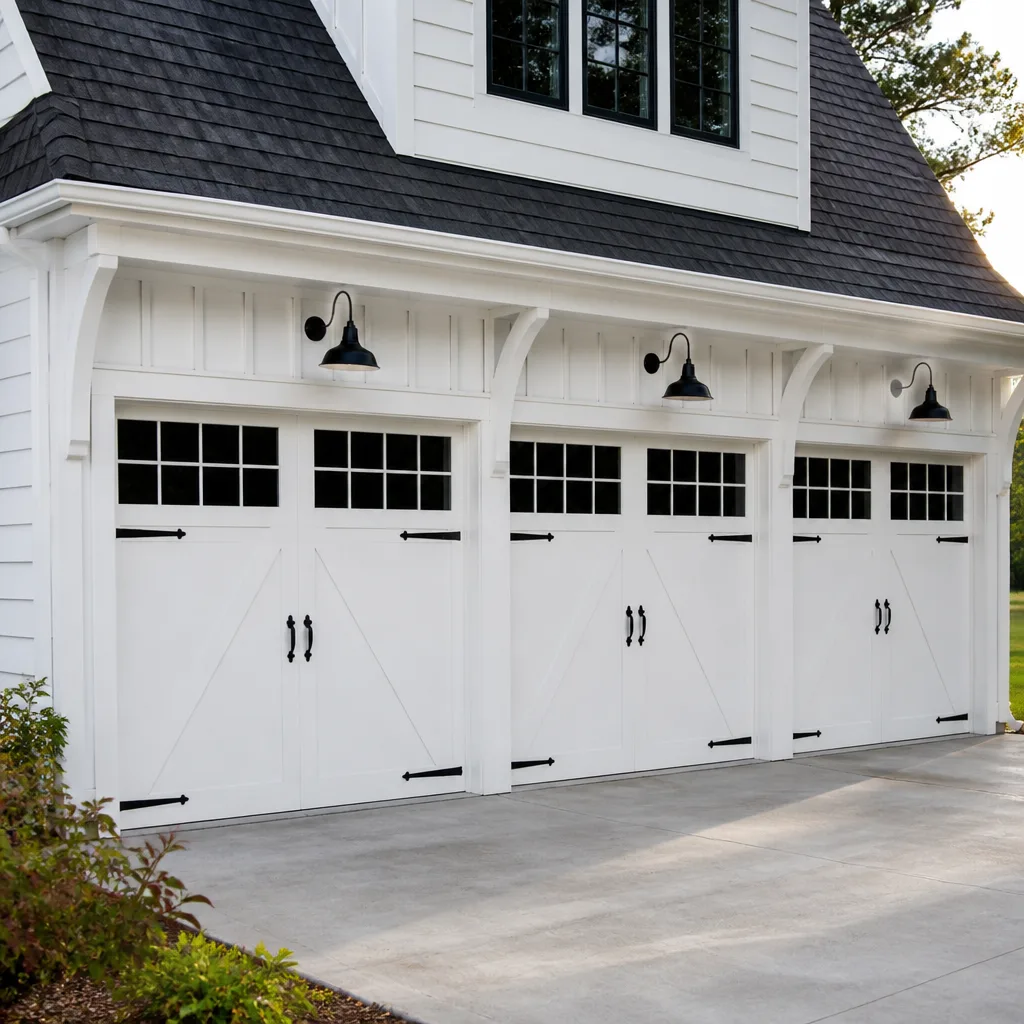 Carriage house
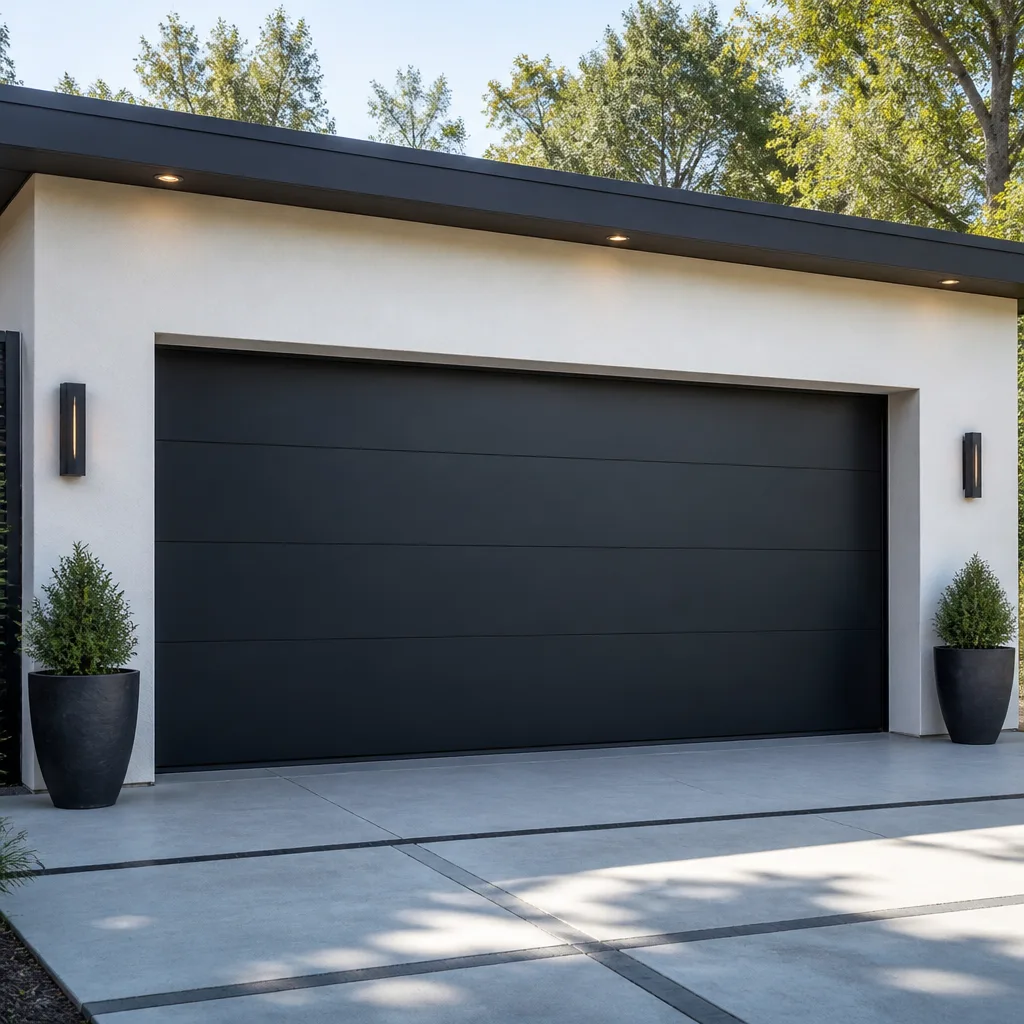 Modern flush
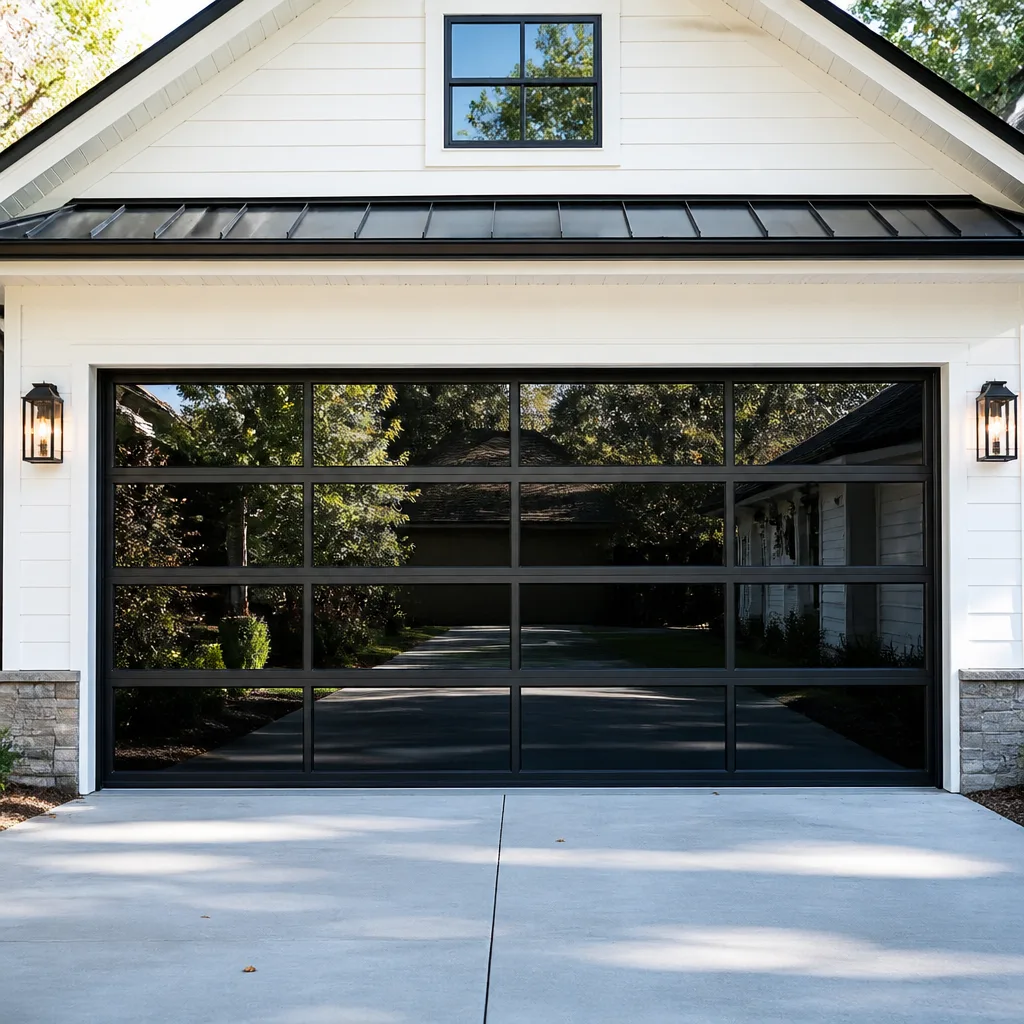 Full-view glass
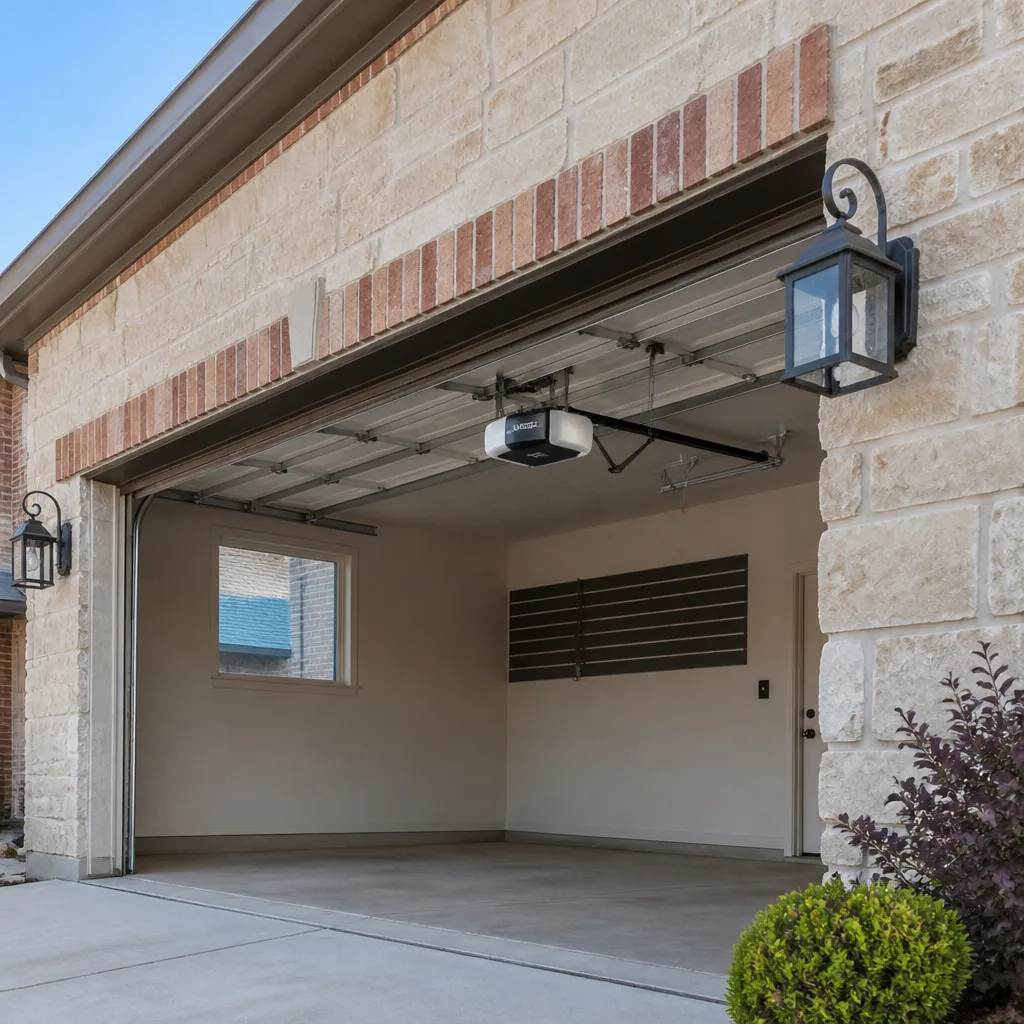 LiftMaster openers
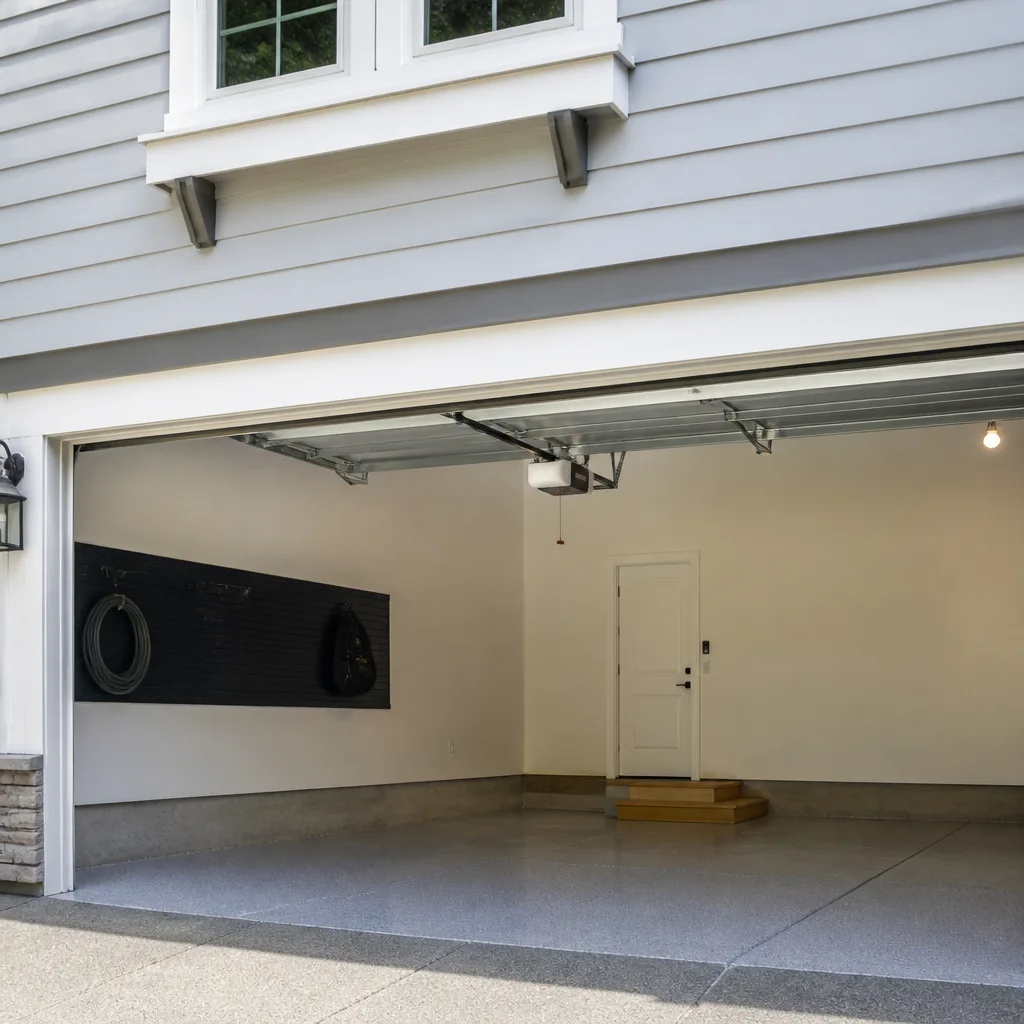 Chamberlain openers
Full 25-point door and opener safety check with every visit - springs, cables, rollers, tracks, and your LiftMaster or Chamberlain opener included
You get a price before we start. It does not change when the pro arrives.
Get your free estimateGarage Door Repair Troubleshooting in Dayton: Common Problems and How to Fix Them
Your garage door has roughly 300 moving parts, but when it fails, the root cause almost always traces back to one of five components – and the symptom your door shows tells you exactly which one to check first. Most homeowners in Dayton treat a malfunctioning door as a single mystery: it’s broken, call someone. But a door that won’t close and a door that grinds on the way up are two completely different failure chains, and mixing them up is the most expensive mistake in garage door repair. Diagnose the wrong side of the system and you pay for a second visit. Read the symptom correctly and a technician arrives with the right part the first time. This guide maps the five failure chains, shows you which ones Dayton’s freeze-thaw cycles make worse, and tells you exactly what you can safely adjust yourself and what you should never touch.
Quick Answer
Most garage door problems trace to one of five components: springs, cables, rollers and tracks, the opener’s logic or drive, or the safety sensors. If your door won’t open or won’t stay up, suspect the springs. If it opens partway and stops, suspect the opener’s travel limits or force settings. If it reverses immediately after touching the floor, suspect the photo-eye sensors or the close-force setting. If you hear grinding, suspect rollers, tracks, or the opener’s gears. Spring and cable repairs require a trained technician; sensor alignment, travel limits, and force settings are usually safe for a homeowner to adjust. When in doubt, call (866) 937-7781 and describe the symptom – a free estimate starts there.
Styles & brands we work with
- Raised-panel steel
- Carriage house
- Modern flush
- Full-view glass
- LiftMaster openers
- Chamberlain openers
Table of Contents
- The Five Failure Chains: How to Read Your Door’s Symptom
- Symptom-to-Cause Mapping Table
- How Dayton’s Freeze-Thaw Cycles Break Springs and Seals
- Opener-Side Faults vs. Door-Side Faults
- What You Can Adjust Yourself and What You Can’t
- The Pre-Call Checklist: Helping Your Technician Arrive Prepared
- Loud Doors, Grinding Doors, and the Roller Question
- When Your Smart Opener Isn’t the Problem
The Five Failure Chains: How to Read Your Door’s Symptom
Every garage door failure works backward from a symptom to a component. There are five components that account for nearly every service call, and each one has a signature. Learning those signatures is the whole skill.
1. The springs. Torsion springs (the horizontal bar above the door) and extension springs (along the sides) counterbalance the door’s weight. When a spring fails, the door becomes enormously heavy. The classic symptom: you press the opener and hear the motor run but the door barely lifts, or it lifts a foot and stops. Or you lift the door by hand and it feels like it weighs a hundred pounds. That’s a spring.
2. The cables. Cables ride on drums and connect the door to the spring system. A snapped cable usually shows as a door hanging crooked, or a visible trail of frayed wire off its drum. Never operate a door with a slack or snapped cable; the door can come down unevenly and jam.
3. The rollers and tracks. Rollers wear out and tracks bend. Symptoms here are noise and resistance: grinding, squealing, a door that shudders as it travels, or one side that lags behind the other. Tracks that have been bumped by a car or a ladder are a common cause.
4. The opener’s drive and logic. The opener motor drives a belt, chain, or screw, guided by a logic board and limit switches that tell it where “up” and “down” are. Symptoms: the door moves partway and reverses, the opener runs but the door doesn’t, or the motor hums without moving.
5. The safety sensors. The two photo-eye sensors at the bottom of the tracks stop the door from closing on something. Symptoms: the door closes a foot and reverses, or won’t close at all but opens fine. This is the single most common “broken door” that turns out to be a five-minute fix.
In our experience, spring and cable failures account for the majority of calls we see in Dayton, which makes sense: the climate here works those components harder than almost anything else on the door.
Symptom-to-Cause Mapping Table
Here’s the diagnostic table we use when a homeowner calls. Match your symptom to the likely source, then check the “safe to check?” column before you touch anything.
- Door won’t open at all; opener runs but door doesn’t move – Most likely: broken spring, snapped cable, or disconnected trolley. Safe to check by hand? Yes for a visual; never force the door.
- Door opens a foot or two then stops – Most likely: opener travel limits set wrong, or a binding track. Safe to check: yes, limits are adjustable.
- Door reverses immediately after touching the floor – Most likely: photo-eye sensors misaligned or obstructed, or close-force set too low. Safe to check: yes.
- Door reverses before it reaches the floor – Most likely: something in the sensor path, or a track obstruction. Safe to check: yes.
- Loud grinding or screeching on the way up – Most likely: worn rollers, dry or damaged torsion springs, or opener gears. Safe to check: visual only; do not oil springs under tension.
- Door hangs crooked or one side sags – Most likely: snapped cable or broken spring on one side. Safe to check: no. Stop operating it.
- Opener hums without moving the door – Most likely: stripped opener gear, or the door is too heavy for the opener because a spring has failed. Safe to check: no; diagnose before running it again.
- Door closes but won’t open from the wall button – Most likely: lock-out mode on the opener, or a logic board fault. Safe to check: yes, try the remote.
- One remote stopped working, others are fine – Most likely: dead battery or a lost programming code. Safe to check: yes.
- Door won’t close from any control; opener light flashes – Most likely: photo-eye sensor failure. Safe to check: yes.
Two symptoms on that list – a crooked door and an opener that hums without moving – mean stop using the door immediately. Running a door with a broken spring lets the opener pull against an unbalanced dead weight, which is how openers get destroyed and how doors come down hard.
How Dayton’s Freeze-Thaw Cycles Break Springs and Seals
Dayton sits in a climate that spends much of the winter cycling between freezing nights and thawing afternoons. That cycle is brutal on two parts of your door specifically: the torsion springs and the bottom seal. In a warmer climate, a spring fails from metal fatigue over a long, steady life. Here, springs get worked differently.
The freeze-thaw effect on springs. Steel contracts in cold and expands as it warms. The torsion spring is steel wire wound under tension, and every one of those temperature swings adds a cycle of expansion and contraction on top of the door’s daily up-and-down. Over years, that accelerates fatigue right at the coil. In our experience, this is why spring failures in Dayton often cluster in late winter and early spring – the door made it through the cold and then let go as temperatures started to move.
The freeze-thaw effect on the bottom seal. The rubber bottom seal is what keeps water, cold air, and pests out of the garage. When water gets into the gap between the seal and the concrete and then freezes, it expands and pulls the seal loose or tears it. Repeated over a winter, the seal hardens, cracks, and stops sealing. That’s a slow problem, but it lets in moisture that rusts the door’s bottom section – a much bigger repair.
What this looks like in symptoms. A spring that’s aging from freeze-thaw often gives warning before it fails: a louder metallic “pop” as the door opens, a visible gap between coils, or the door starting to feel heavier. Homeowners who check their door by hand once in fall often catch a weakening spring before it strands a car on a winter morning. Winter is also when a hard-frozen bottom seal can crack, and when a door left open during a storm can collect drifting snow in the tracks and bind on the next cycle.
These are the two components we look at first on any Dayton door once the cold sets in, and they’re the reason spring repair is a specialty rather than an afterthought for us.
Opener-Side Faults vs. Door-Side Faults
This is the distinction that saves homeowners the most money, and the one misdiagnosed most often: is the problem in the opener, or in the door itself? The opener is the motor that moves the door. The door is the structure that carries its own weight through springs, cables, and tracks. When the door is heavy because a spring has failed, a perfectly healthy opener can look broken – it strains, reverses, or stops. If someone diagnoses that as an opener failure and replaces the opener without fixing the spring, the new opener fails too. That’s the expensive repeat service call.
Here’s the test. Disconnect the opener (pull the emergency release cord to free the trolley), then lift the door by hand about halfway. A healthy, balanced door stays roughly where you put it with light effort. If the door feels heavy, drops, or won’t stay up, the problem is on the door side – springs or cables – regardless of what the opener is doing. If the door lifts easily and stays, but it won’t move with the opener connected, the problem is on the opener side: logic board, travel limits, force settings, or a stripped drive gear.
Opener-side faults cluster around a few things in our experience:
- Travel limits – the settings that define where the door stops up and down; the most common opener fault, and usually adjustable.
- Force settings – how hard the opener pushes before it reverses; set too low, it reverses on a normal door; set too high, it can be unsafe.
- The logic board – the opener’s brain; a common failure point on older units.
- The drive gear or belt/chain – a stripped gear is why the opener hums without moving.
- Remote and wall-console programming – not a fault at all, just lost codes or dead batteries.
This matters because we work on both doors and openers – Clopay and Amarr doors, LiftMaster and Chamberlain openers, and legacy Craftsmans and Genies alike. Getting the opener-versus-door call right the first time is the difference between one trip and two. When the diagnosis does point to the motor, our garage door opener repair service covers the logic, drive, and remote side of the system.
What You Can Adjust Yourself and What You Can’t
Some garage door faults are genuinely safe to handle at home. Others are among the most dangerous jobs in the house. The line is clear, and it’s worth knowing where it sits.
Safe for a homeowner to adjust:
- Photo-eye sensor alignment. Wipe the lenses, check that both sensors face each other and that the LED on each is solid (not blinking). Nudge them until the aligned light comes on. This alone fixes a huge share of “door won’t close” calls.
- Travel limits. Following the opener maker’s manual, adjust the up and down stop points so the door fully closes without reversing and fully opens without straining.
- Force settings. Also from the manual, if the door reverses on a light obstruction or fails to close on a cold day. Set it to the minimum force that reliably moves the door, never higher than the manual calls for.
- Remote batteries and reprogramming. Straightforward on virtually every opener.
- Clearing obstructions from the tracks. A visual check and careful removal of debris – not bending the track.
Requires a technician:
- Spring tension and spring replacement. Torsion and extension springs are under extreme tension, and the tools and technique needed to release and rewind them safely aren’t a homeowner job. This is the most common serious-injury repair in the trade, and it should be handled by someone trained for it.
- Cable replacement and cable drums. Cables hold the door’s weight against the spring system. A cable under tension can whip when it releases.
- Trolley carriage replacement. The carriage that connects the door to the opener needs the correct part and correct travel settings to work.
- Track straightening or replacement. A bent track throws off the whole door’s balance.
- Any door that hangs crooked or drops on its own. Stop, and call.
The safety line is simple: if the work involves the springs or the cables, it goes to a technician. That’s not caution for its own sake – it’s the part of the job that injures people. Spring replacement done safely is exactly the kind of specialty we’d rather handle for you than talk you through from the other end of a phone.
The Pre-Call Checklist: Helping Your Technician Arrive Prepared
The single best thing you can do before calling for repair is to describe the problem precisely. A vague “my door is broken” means the technician arrives to diagnose; a precise description means they can arrive with the right parts, and in many cases diagnose and fix it in one trip. Here’s what to have ready. You can run through this checklist in a couple of minutes.
- Write down the make and model of the door and the opener. Look on the opener motor housing for the brand (LiftMaster, Chamberlain, Genie, and Craftsman cover most homes). The door maker is often on a sticker inside the bottom panel. If you can’t find it, a photo of the opener and the door does the same job – Clopay, Amarr, Wayne Dalton, and Raynor doors each have recognizable features.
- Describe exactly what the door does. Won’t open? Opens partway and stops? Reverses right at the floor? Grinds? Hums without moving? Use the symptom table above as your guide.
- Say whether the opener runs. Can you hear the motor but not see the door move? That tells us the difference between a door-side and opener-side fault before we arrive.
- Try the door by hand – with the opener disconnected. Pull the release cord and lift the door a little. Heavy or won’t stay up? Spring or cable. Easy and balanced? Opener.
- Note any recent change. A car that bumped the track, a storm that rattled the door, a cold snap, a new remote that won’t program – each points somewhere different.
- Take a couple of photos. One of the opener, one of each track, one of the springs above the door.
A precise description lets us match the call to the right part before anyone drives out. When the fault needs a full door replacement rather than a repair, being able to plan for measurement and scheduling means a single visit handles it. For repairs, we send a technician fast – fast dispatch from 7am to 7pm, Sunday through Friday. Our full guide to garage door repair walks through what a repair visit actually involves.
Loud Doors, Grinding Doors, and the Roller Question
A garage door that’s getting loud is telling you something, and the noise is usually coming from the rollers – the small wheels that ride in the tracks on each side of the door. There are two kinds: steel rollers, which are durable but loud, and nylon rollers, which are quieter and a common upgrade. Worn steel rollers rattle and squeal. A roller that’s failing can also bind, which makes the door hard to move and can throw off the balance, straining the opener over time.
Roller replacement is a moderate job that many homeowners leave to a technician because the door has weight and the rollers carry it – the safe sequence is to support the door, replace the rollers one at a time, and reset the door’s balance. Beyond the rollers, the other usual noise sources are:
- Dry or worn torsion springs – a harsh screech or popping when the door moves. Do not oil springs under tension yourself; let a technician assess.
- Loose hinges and hardware – a rattle that gets worse as the door moves; the bolts can often be tightened with routine care.
- A dry opener belt or chain – a whir that fades once it’s properly lubricated.
- A bent track – a knock or jump every time a roller passes that spot.
Quieting a loud door is usually a matter of replacing work-worn rollers and tightening hardware, not a rebuild. But grinding that’s coming from the opener itself – up at the motor – is a different animal, and often means a worn drive gear. That’s an opener-side fault, and it’s worth a call.
When Your Smart Opener Isn’t the Problem
Modern openers from LiftMaster and Chamberlain can be connected to your phone and controlled remotely. When something goes wrong with a smart opener, the instinct is to blame the app or the Wi-Fi. In our experience, most “smart opener problems” are really one of two things: a mechanical door fault the app just surfaces (the door won’t close, so the app shows an error), or a simple network pairing issue that’s unrelated to the door at all.
Here’s how to tell them apart. If the door hesitates, reverses, or won’t fully close when operated from the wall console or the app, the fault is the same door-side or sensor issue covered above – the app is just the messenger. If the door operates perfectly from the wall console but not from the app, you have a network or pairing issue, not a garage door failure, and resetting the connection usually resolves it.
The same logic clears up confusion with older openers. A Craftsman unit that’s been on the wall for years tends to fail in predictable places – worn drive gear, tired logic board, or a remote that’s lost its code – while a newer LiftMaster or Chamberlain tends to fail at travel limits or force settings. Knowing which generation you’re working with is half the diagnosis. Complete garage door installation – of a new door and a new opener together – becomes worth considering when the fix would cost more than a replacement, and we handle that in one project instead of two calls.
Common Mistakes to Avoid
- Running the door with a broken spring. The opener pulls against a door that weighs far more than it’s designed for. That’s how a bad spring turns into a dead opener and a bigger repair. Stop using a door that won’t stay up.
- Replacing the opener when the door is the problem. If the door is heavy because of a spring, a new opener will fail the same way. Test the door by hand before calling it an opener fault.
- Adjusting the force setting to “fix” a reversing door. Turning the force up gets around the symptom without fixing the cause, and it can make the safety feature useless. Find the obstruction first.
- Oiling torsion springs under tension. Springs are under extreme load; oil and a wrench near a wound spring isn’t a homeowner job. Let a technician handle it.
- Ignoring a bent track because the door still moves. A slightly bent track that still works today is a binding door next month, and it puts strain on every other component. Get it looked at.
- Skipping the pre-call checklist. A vague call means a diagnosis trip and a second visit for the part. A precise one gets both done in a single trip.
- Waiting through a freeze-thaw winter to check the door by hand. A tightening spring in December is a broken spring in March. Lift the door by hand in fall and you’ll often catch trouble early.
See the difference
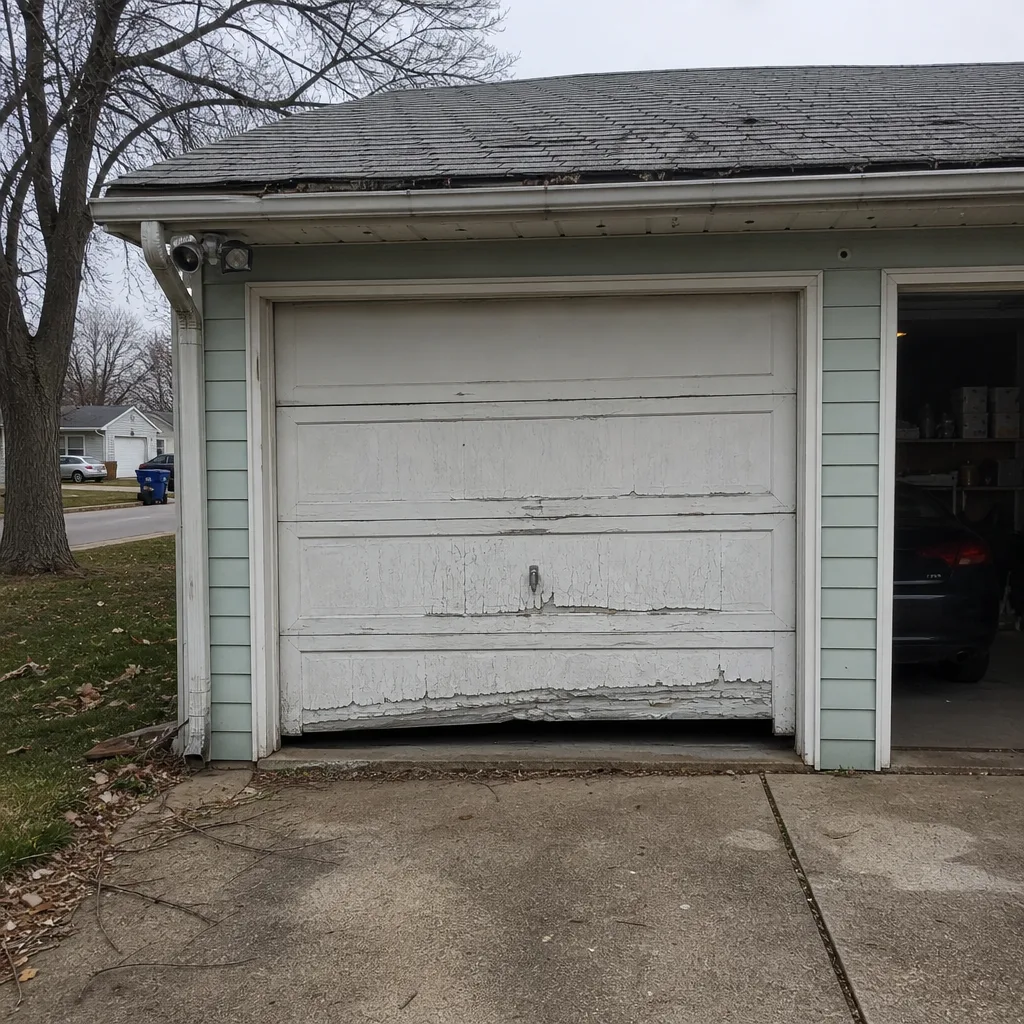 Before
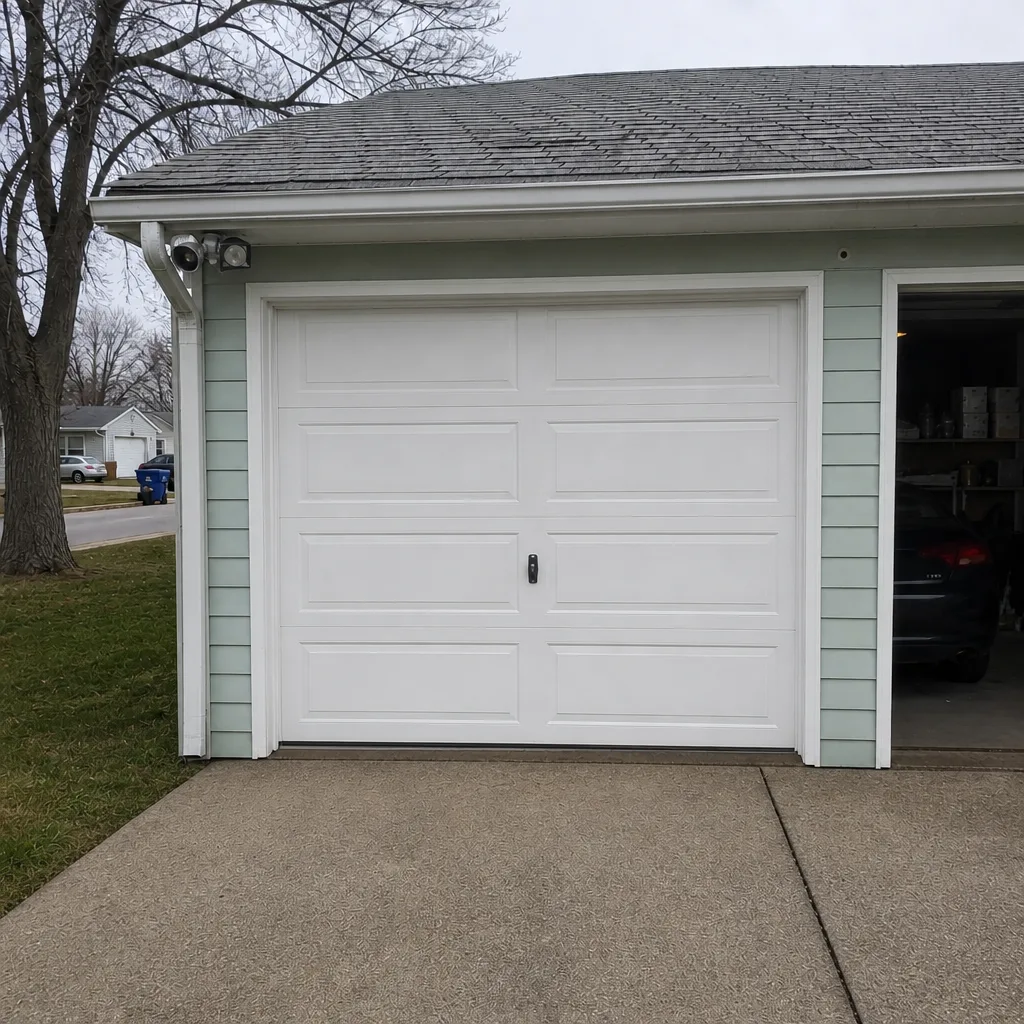 After
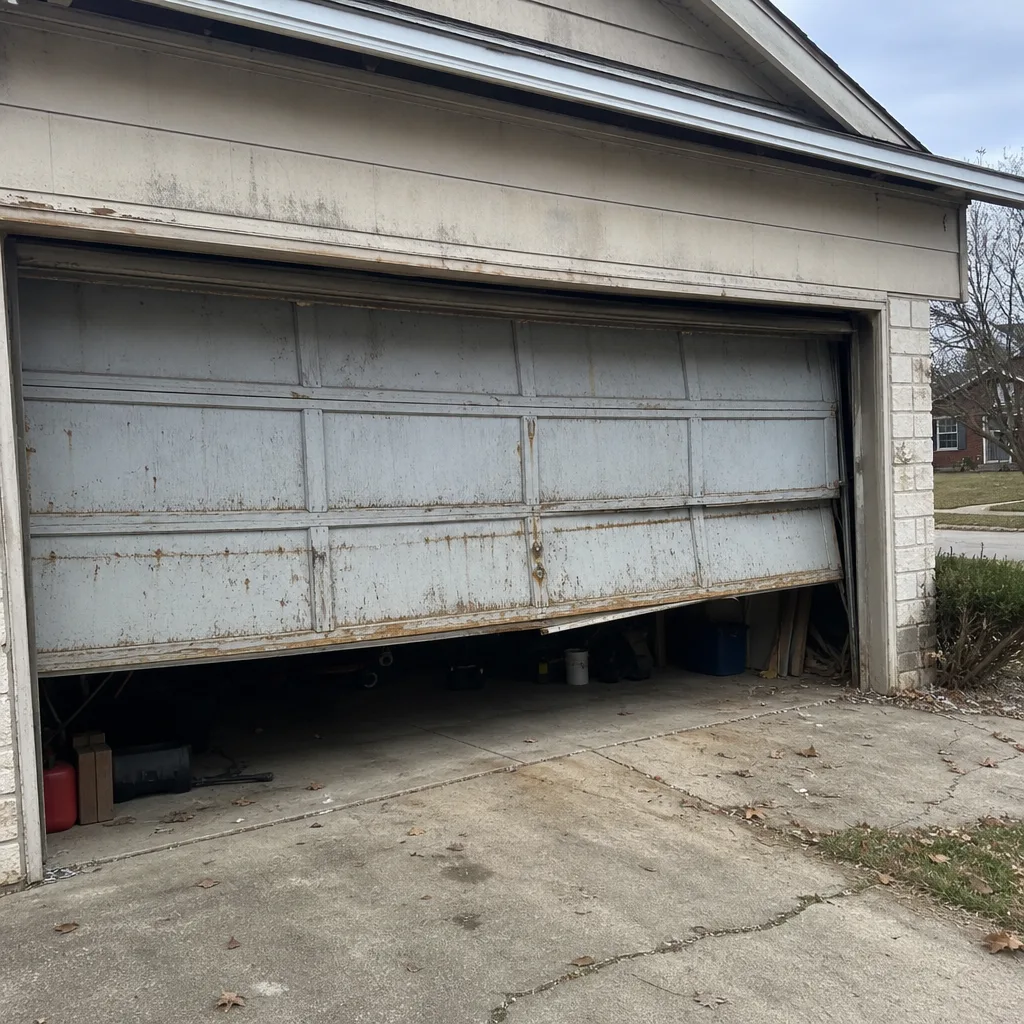 Before
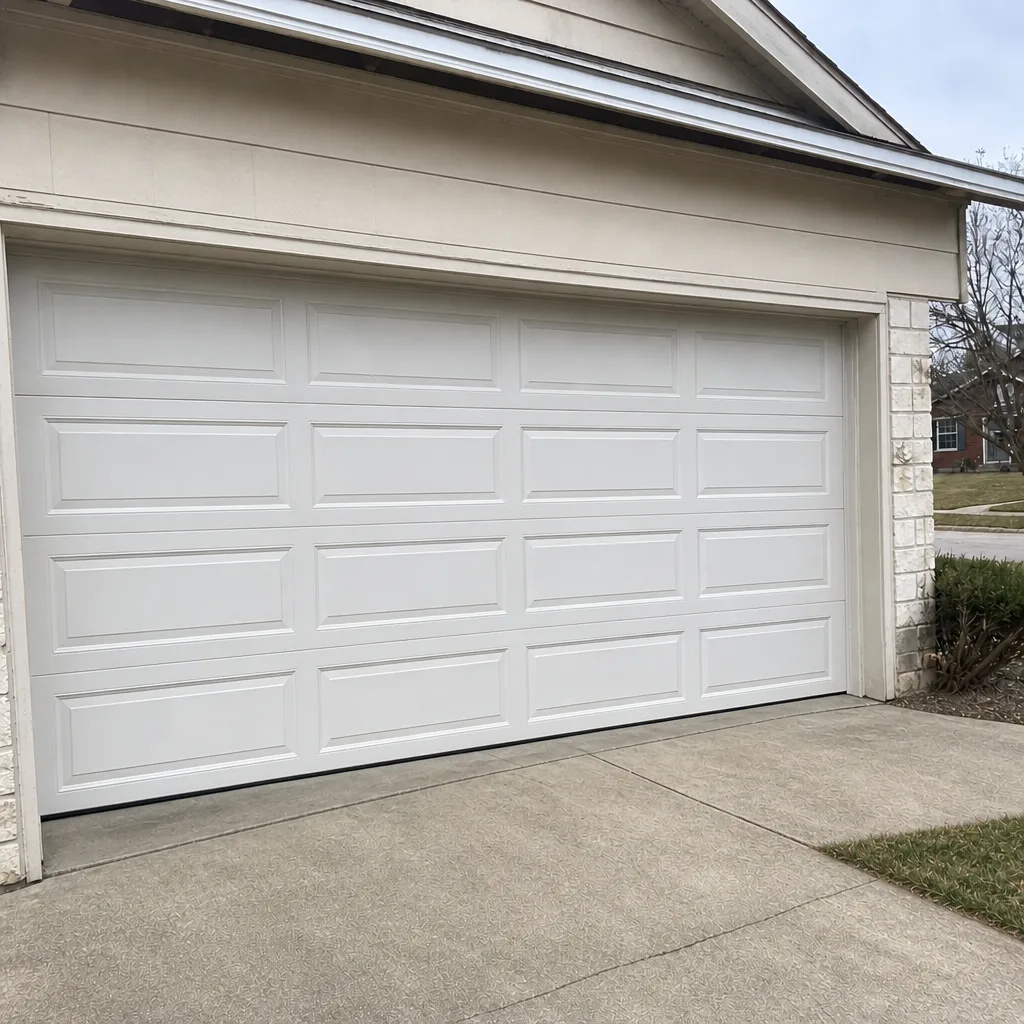 After
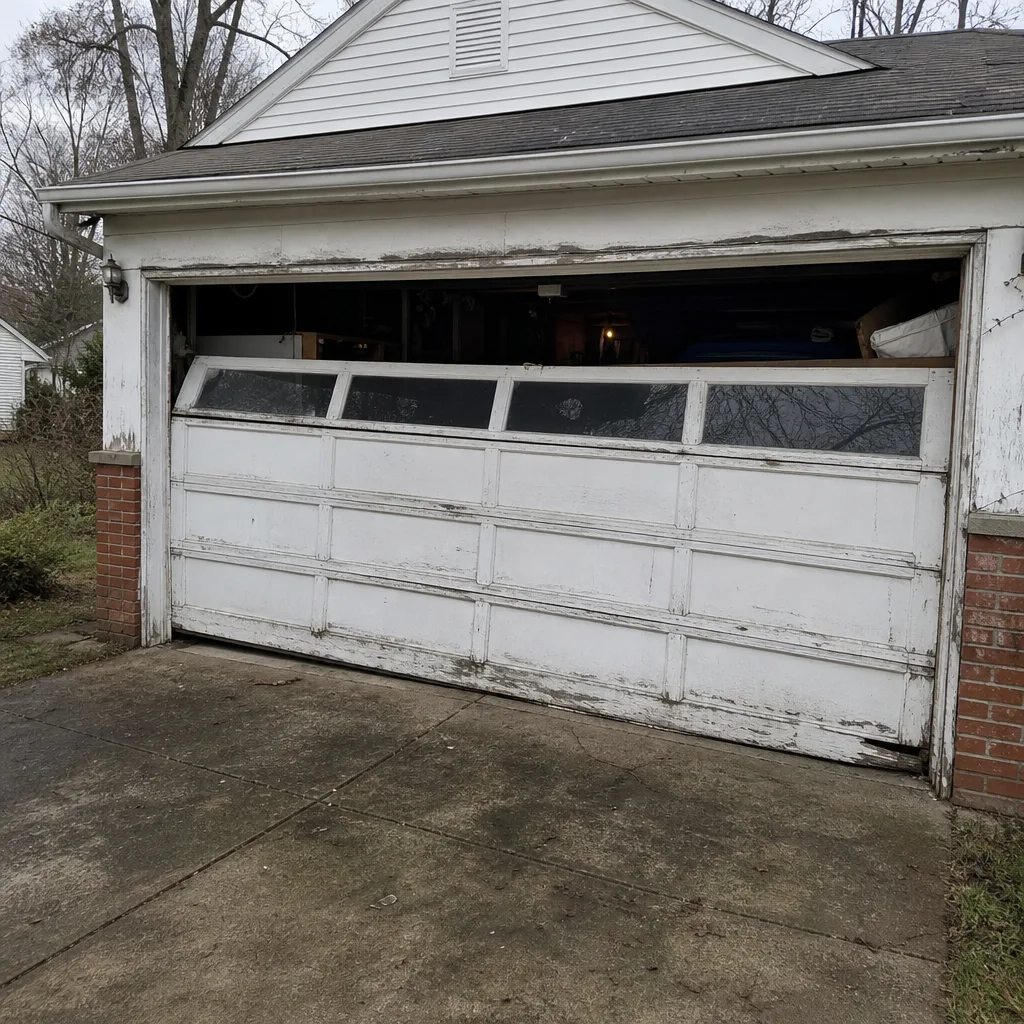 Before
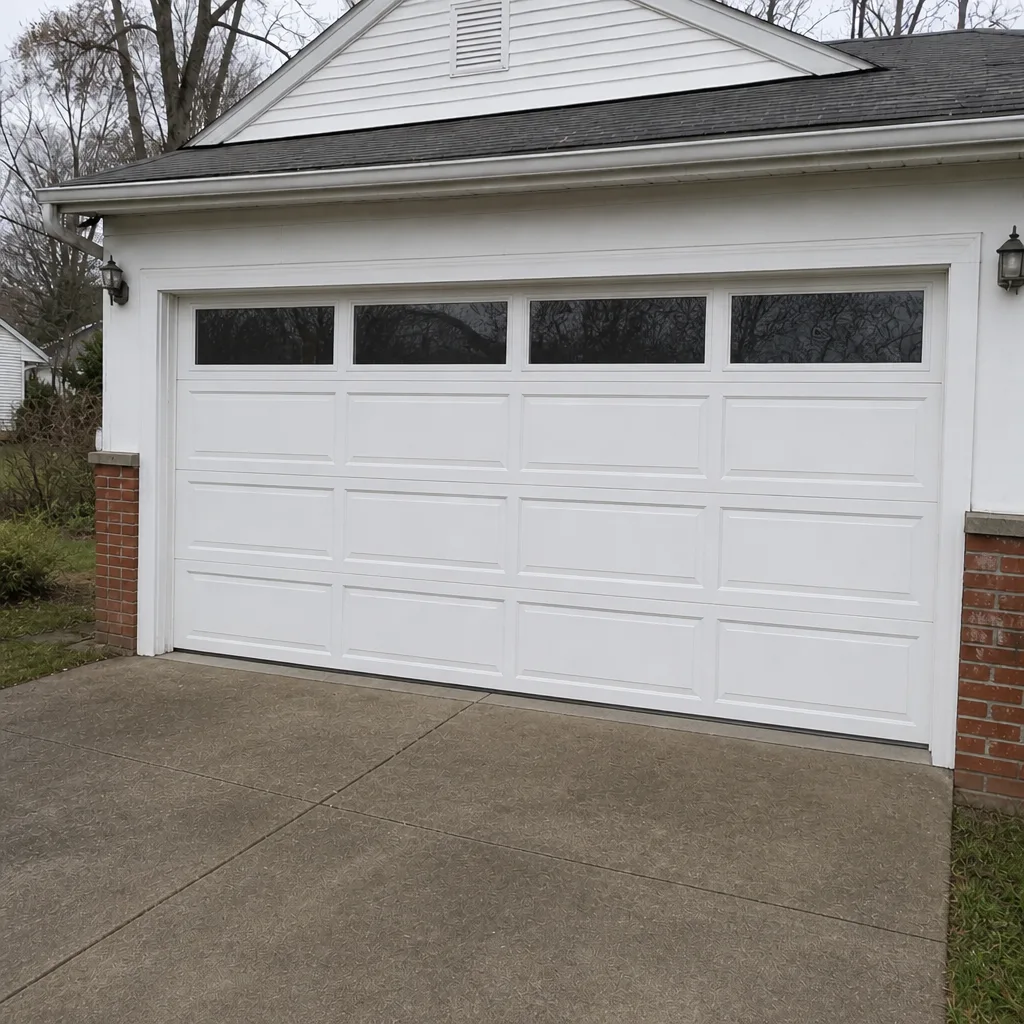 After
When to Call a Professional
Call a professional for any fault that touches the springs or the cables, for a door that hangs crooked or drops on its own, for an opener that hums without moving, and for anything you’ve measured and decide you’d rather not touch. These are the cases where a wrong move costs more than a service call – and in the case of spring tension, costs more than money. For everything else, the pre-call checklist above helps us arrive prepared. Dayton Garage Door Repair Pros offers free estimates in Dayton – call (866) 937-7781. We answer 24/7. Fast dispatch from 7am to 7pm, Sunday through Friday. The price is quoted and agreed before any work starts, so you’ll know what the job costs before a technician lifts a wrench.
Frequently Asked Questions
Most garage door repairs in Dayton fall into a few ranges depending on what’s wrong: sensor alignment and remote reprogramming are typically small fixes, roller and hardware work is usually mid-range, and spring and cable repairs run higher because they’re the most demanding and safety-critical jobs. The written estimate sets the final price, and the price is quoted and agreed before any work starts. Call (866) 937-7781 for an exact quote – estimates are free.
Yes – we offer same-day service for repairs, with fast dispatch from 7am to 7pm, Sunday through Friday. We answer 24/7, so if you call outside dispatch hours, we’ll book you into the next opening, Sunday through Friday. Call (866) 937-7781 to get an exact arrival window.
Disconnect the opener with the emergency release cord and lift the door by hand halfway: if it feels heavy or won’t stay up, the fault is door-side (springs or cables); if it lifts easily and stays but won’t move with the opener connected, the fault is opener-side (travel limits, force settings, logic board, or drive gear). Getting this call right is what prevents a repeat service call. Call (866) 937-7781 if you’d like us to help diagnose it – estimates are free.
The most common cause is the photo-eye sensors: misaligned lenses, an obstruction in the path, or a close-force setting that’s too low. Wipe the lenses and check that both sensors face each other with a solid (not blinking) light on each; if that doesn’t fix it, the close-force setting may need adjusting from the opener manual. If it still reverses, call (866) 937-7781 for a free estimate.
No – torsion springs are under extreme tension and must be released and rewound with the right tools and training. This is the most common serious-injury repair in garage door work, and it should be handled by a trained technician. We treat spring replacement as a defined specialty precisely because it’s dangerous when done wrong. Call (866) 937-7781 to schedule spring repair.
Have the make and model of your door and opener ready (a photo of each works), describe exactly what the door does, note whether you can hear the opener run, and try the door by hand with the opener disconnected. That lets us prepare a single-trip repair instead of a diagnosis visit. Call (866) 937-7781 with what you find – estimates are free.
The Bottom Line
Most garage door failures are one of five things – a spring, a cable, the rollers and tracks, the opener’s drive and logic, or the safety sensors – and your door’s symptom tells you which one to look at first. Read the symptom correctly and you eliminate most of the guesswork before a technician arrives. Know the line between what you can adjust safely (sensor alignment, travel limits, force settings) and what goes to a professional (springs, cables, carriage, tracks). And remember what Dayton’s freeze-thaw cycles do to springs and bottom seals, so you check the door by hand before winter sets in. Diagnose the failure chain, describe it precisely, and a single call gets the door fixed the first time. Call (866) 937-7781 for a free estimate.
If you need a full diagnostic walkthrough at your home, our team at Dayton Garage Door Repair Pros is ready to help.
Written by the team at Dayton Garage Door Repair Pros.